I don’t homebrew that much anymore these days, at most 4 to 5 times a year, and really only the beers that I absolutely want to brew and drink, which includes fixtures like an 8° Czech-style pale lager for summer and a Czech-style dark lager (which I brew with Ben) for winter. So there is really not that much room for experimentation, simply because I don’t have the time, the drinking capacity (I’m 40, it’s all about quality over quantity now) or the resources like free fridge space for fermentation and lagering.
But there have been a few things that I kept wanting to try out, all in the context of Franconian Kellerbier that I had learned about in the last year or so.
The first thing was when my friend Joe Stange visited Brauerei Knoblach just outside of Bamberg end of last year, and came back with the information that Knoblach generally uses a 1:1 blend of Pilsner and Vienna malt as a grist, that their water is fairly hard parts of the year, and that they rely on that hardness (though he couldn’t provide any concrete numbers, nor was I able to find any analytical data about the water of Schammelsdorf, where the brewery is located). I really like Knoblach’s beers, and I know its peculiar taste, so I was wondering whether these were two factors that played into it (Joe also published an excellent article about Kellerbier in the latest issue of Craft Beer & Brewing magazine which does not seem to be online yet, but as a subscriber myself, I highly recommend getting an online subscription).
The second thing was what I learned at HBCon earlier this year about how Mönchsambacher brewed their Weihnachts-Bock. The two things I wanted to incorporate were their mash profile (which I wrote about in July) and the water profile, which has roughly equivalent hardness of calcium and magnesium, and plenty of it as sulphates. Luckily, my local Berlin tap water has about the right calcium hardness, so all I needed to do was to add the right of magnesium to get my tap water roughly where the Mönchsambacher water is in terms of hardness and mineral composition.
The third point on my agenda of things to try out were Aurum hops, a relatively new German hop variety that was launched as more disease- and climate-resistant with a “highly fine” aroma. As a daughter of Tettnanger, it is meant to replace Tettnanger and similar varieties, and German hop growers as well as hop merchants have been promoting it because they see it as a variety better suited to climate change than others, including German landrace varieties. What I wanted to know was well the hops fared in a traditional style.
I know, integrating all three elements in a single experiment is not exactly scientific, as I don’t have a baseline to compare it to, nor do I isolate any of the multiple variables. I’ll still call it an experiment simply because I want to know what a beer brewed that way would taste like.
And that’s how I formulated the recipe:
The grist was simple: 50% Pilsner malt, and 50% Vienna malt. As hops, I used Aurum hops, with additions at 60 minutes for bittering, 25 minutes for flavour, and to the whirlpool for aroma, which should end up at 41 IBU (calculated):
- 2.3 kg Pilsner malt
- 2.3 kg Vienna malt
- 30 g Aurum hops (5.8% alpha acid) @ 60 min
- 30 g Aurum hops (5.8% alpha acid) @ 25 min
- 40 g Aurum hops (5.8% alpha acid) @ whirlpool for 20 min
My tap water needed to be enriched with magnesium, so I simply spiked the mash with food-grade epsom salts (MgSO4). According to my calculations, 18g should get me the right amount of magnesium hardness for 22 liters of beer.
As yeast, I used the Fermentis S-23 dry yeast strain. It’s not my absolute favourite, but it’s all I had at hand, also because I had forgotten to order anything else, which is all my bloody fault.
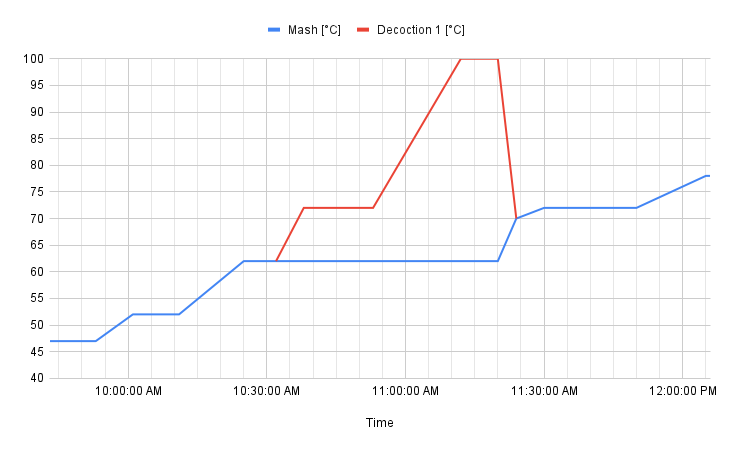
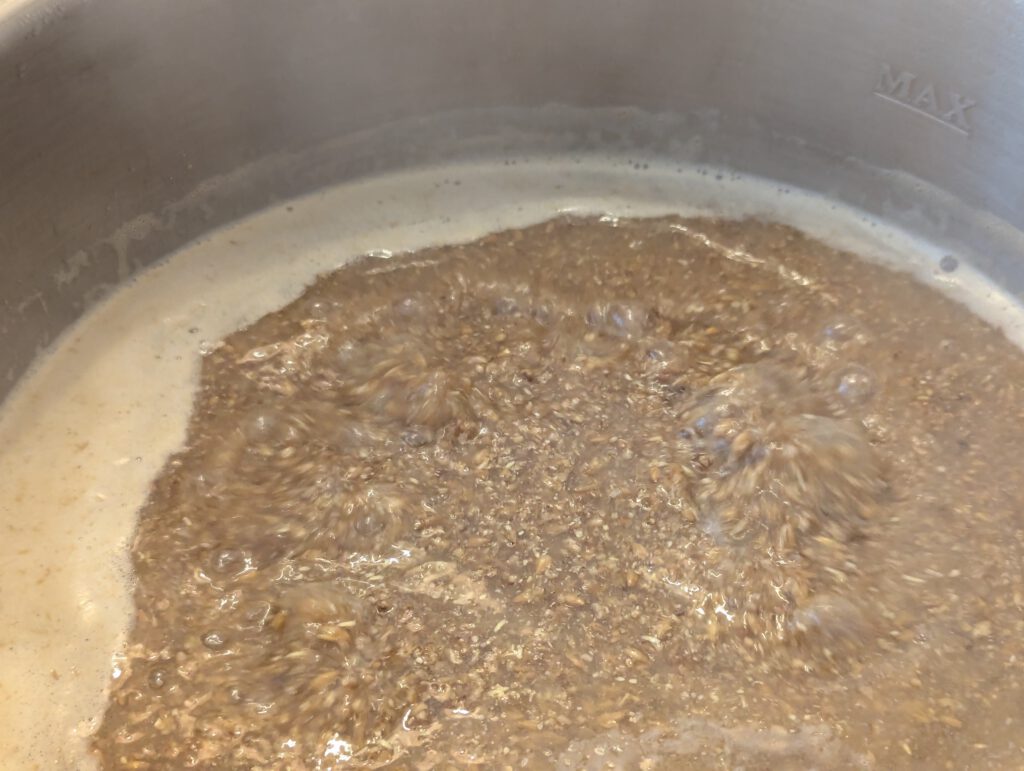
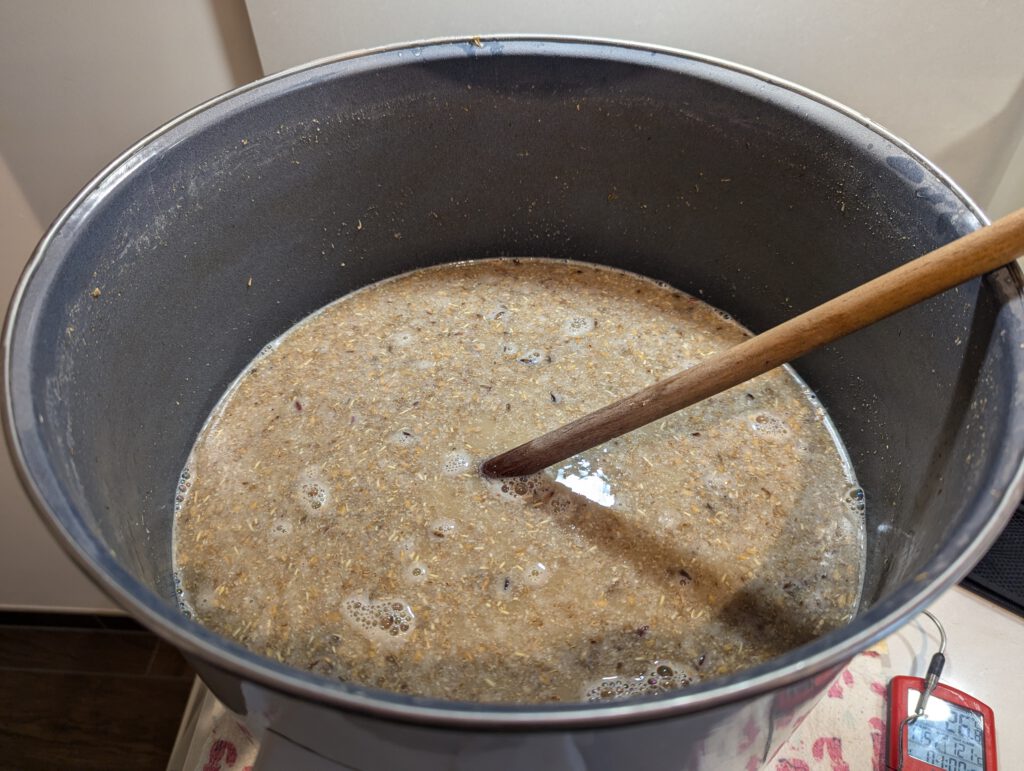
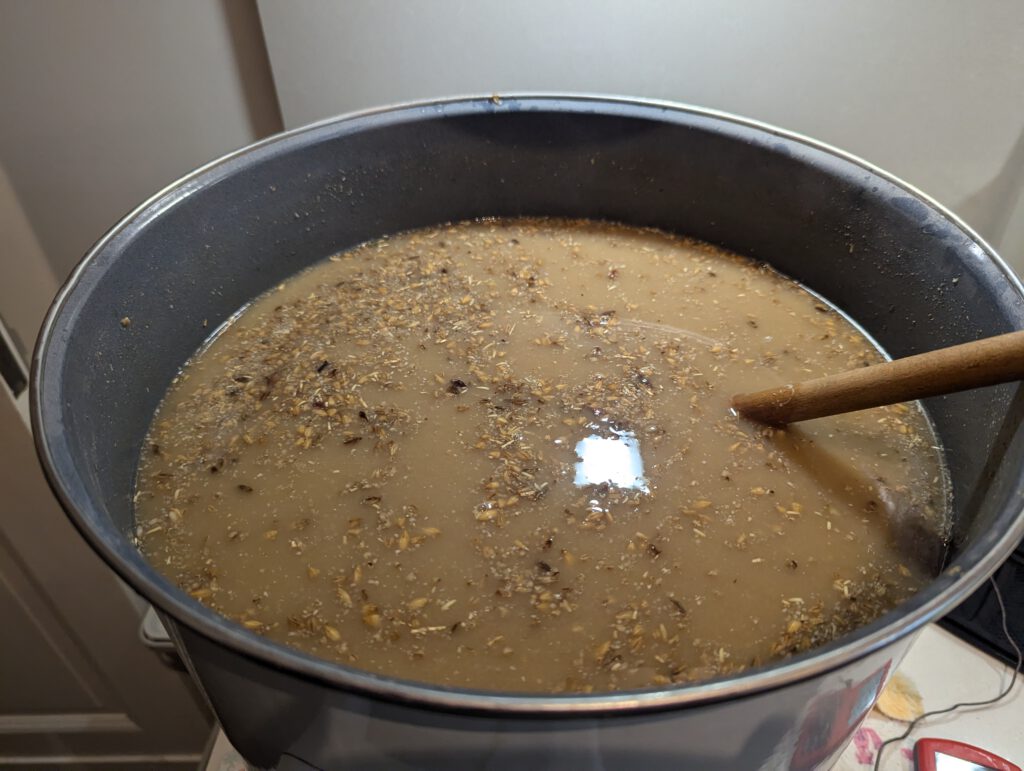
When it came to mashing, I just stuck to the Mönchsambacher mash profile, a single decoction mash. I boiled the wort for 60 minutes, then cooled it down to 6°C, pitched the yeast, and let it ferment at 10°C until it was finished fermenting. I then ramped down the temperature to 1°C for a week, and bottled it with wort I had held back for bottle conditioning.
The resulting beer has an OG of 11.6°P (slightly lower than a typical Kellerbier, but that’s mainly from me buying the ingredients and only afterwards deciding on a mash profile with a slightly lower efficiency than my regular double decoction mash), and fermented down only to 3.5°P FG, resulting in just 4.3% ABV.
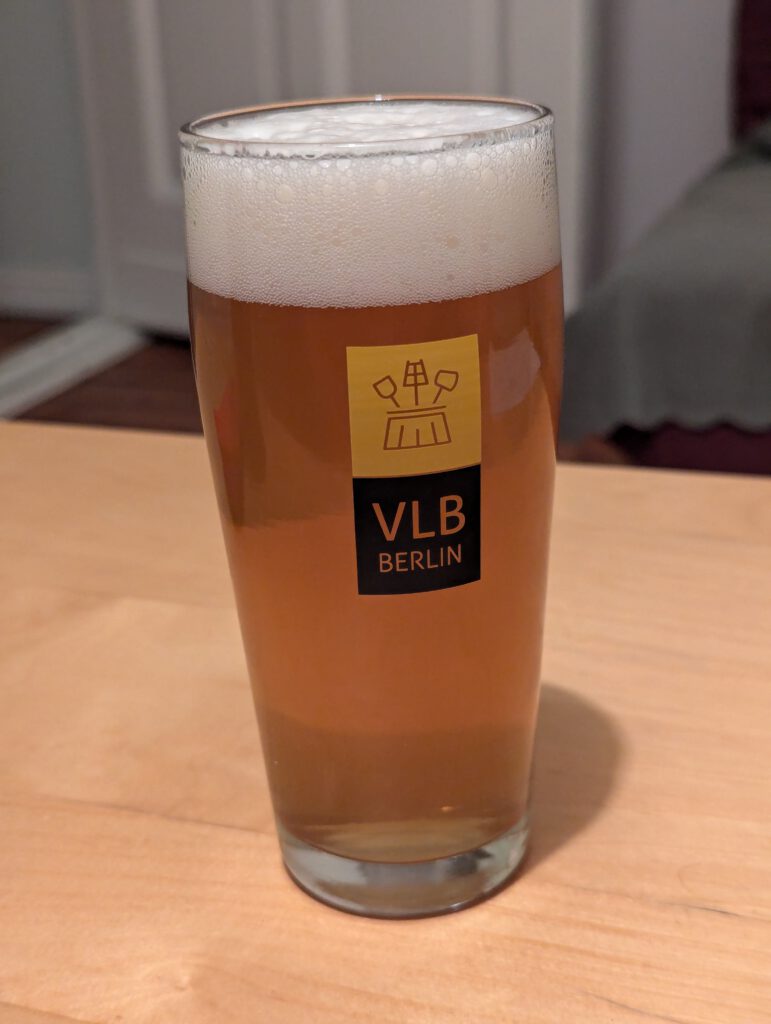
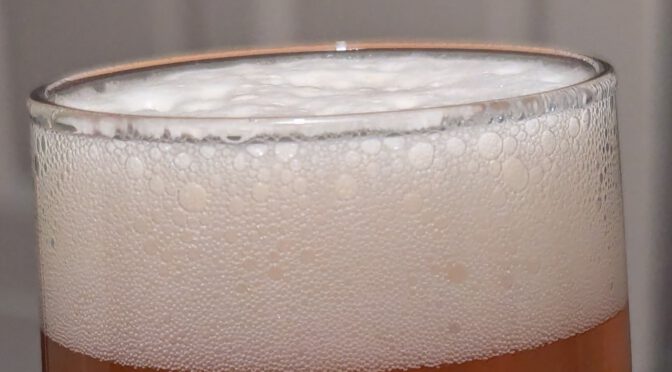
A first taste test showed that the experiment, in my opinion, was successful: the beer has a minerality and a maltiness very much reminiscent of Knoblach and Mönchsambacher. The same goes for the bitterness: while it’s not quite as pronounced as I hoped it would be (I blame the low attenuation which probably leaves just enough residual sweetness to slightly mute it), as it is very lingering: even minutes after, that hop bitterness just stays on your tongue. Which is exactly what I appreciate so much about these beers.
As for the hop aroma of Aurum itself: there’s not that much there. Even though I kept the hops in the fridge and sealed at all times, it was not the freshest batch (2021 harvest), so that may have had an influence. Still, the bitterness the hops provide was quite on point.
Still, I’m very happy with the end result. I think it shows that the local water profile of Bamberg’s surrounding area has a large impact on the flavour of the beer, as long as breweries don’t soften or otherwise treat the water and embrace their very local water profile instead (which is one of the points that Joe makes in his article).
Even the yeast played out alright: I didn’t like S-23 in the past because it can produce rather fruity fermentation byproducts. In this case, the beer came out fairly clean, just with a high final gravity. In retrospect, that actually wasn’t too surprising, as S-23 is the closest known relative of the Wyeast 2001 strain, which is purported to be the Pilsner Urquell “H” strain, and is also known for relatively low attenuation.
My take-aways of this brew are the following:
Hard water, especially similar to the Mönchsambacher water profile, can get you a flavour profile in beer that is similar to the slightly rustic flavour profiles of beers like Mönchsambacher, Knoblach and others in the region.
The combination of Pilsner and Vienna malt probably adds to that rustic character.
A lower attenuation seems to help with the style, but another experiment to try out a more highly attenuating yeast should bring more clarity.
Aurum hops are probably okay for standard German styles, but also require more experimentation to understand their exact aroma potential and how to use them. A more recent harvest would be great to try next time. I generally support the idea of hop varieties that are better suited to climate change (which is an inevitability that will hit the brewing industry hard in the decades to come, so good on German hop breeders to be as forward-thinking as that), as long as we understand well enough how to apply the hops to get the same aromas and flavours as with more traditional varieties.

