
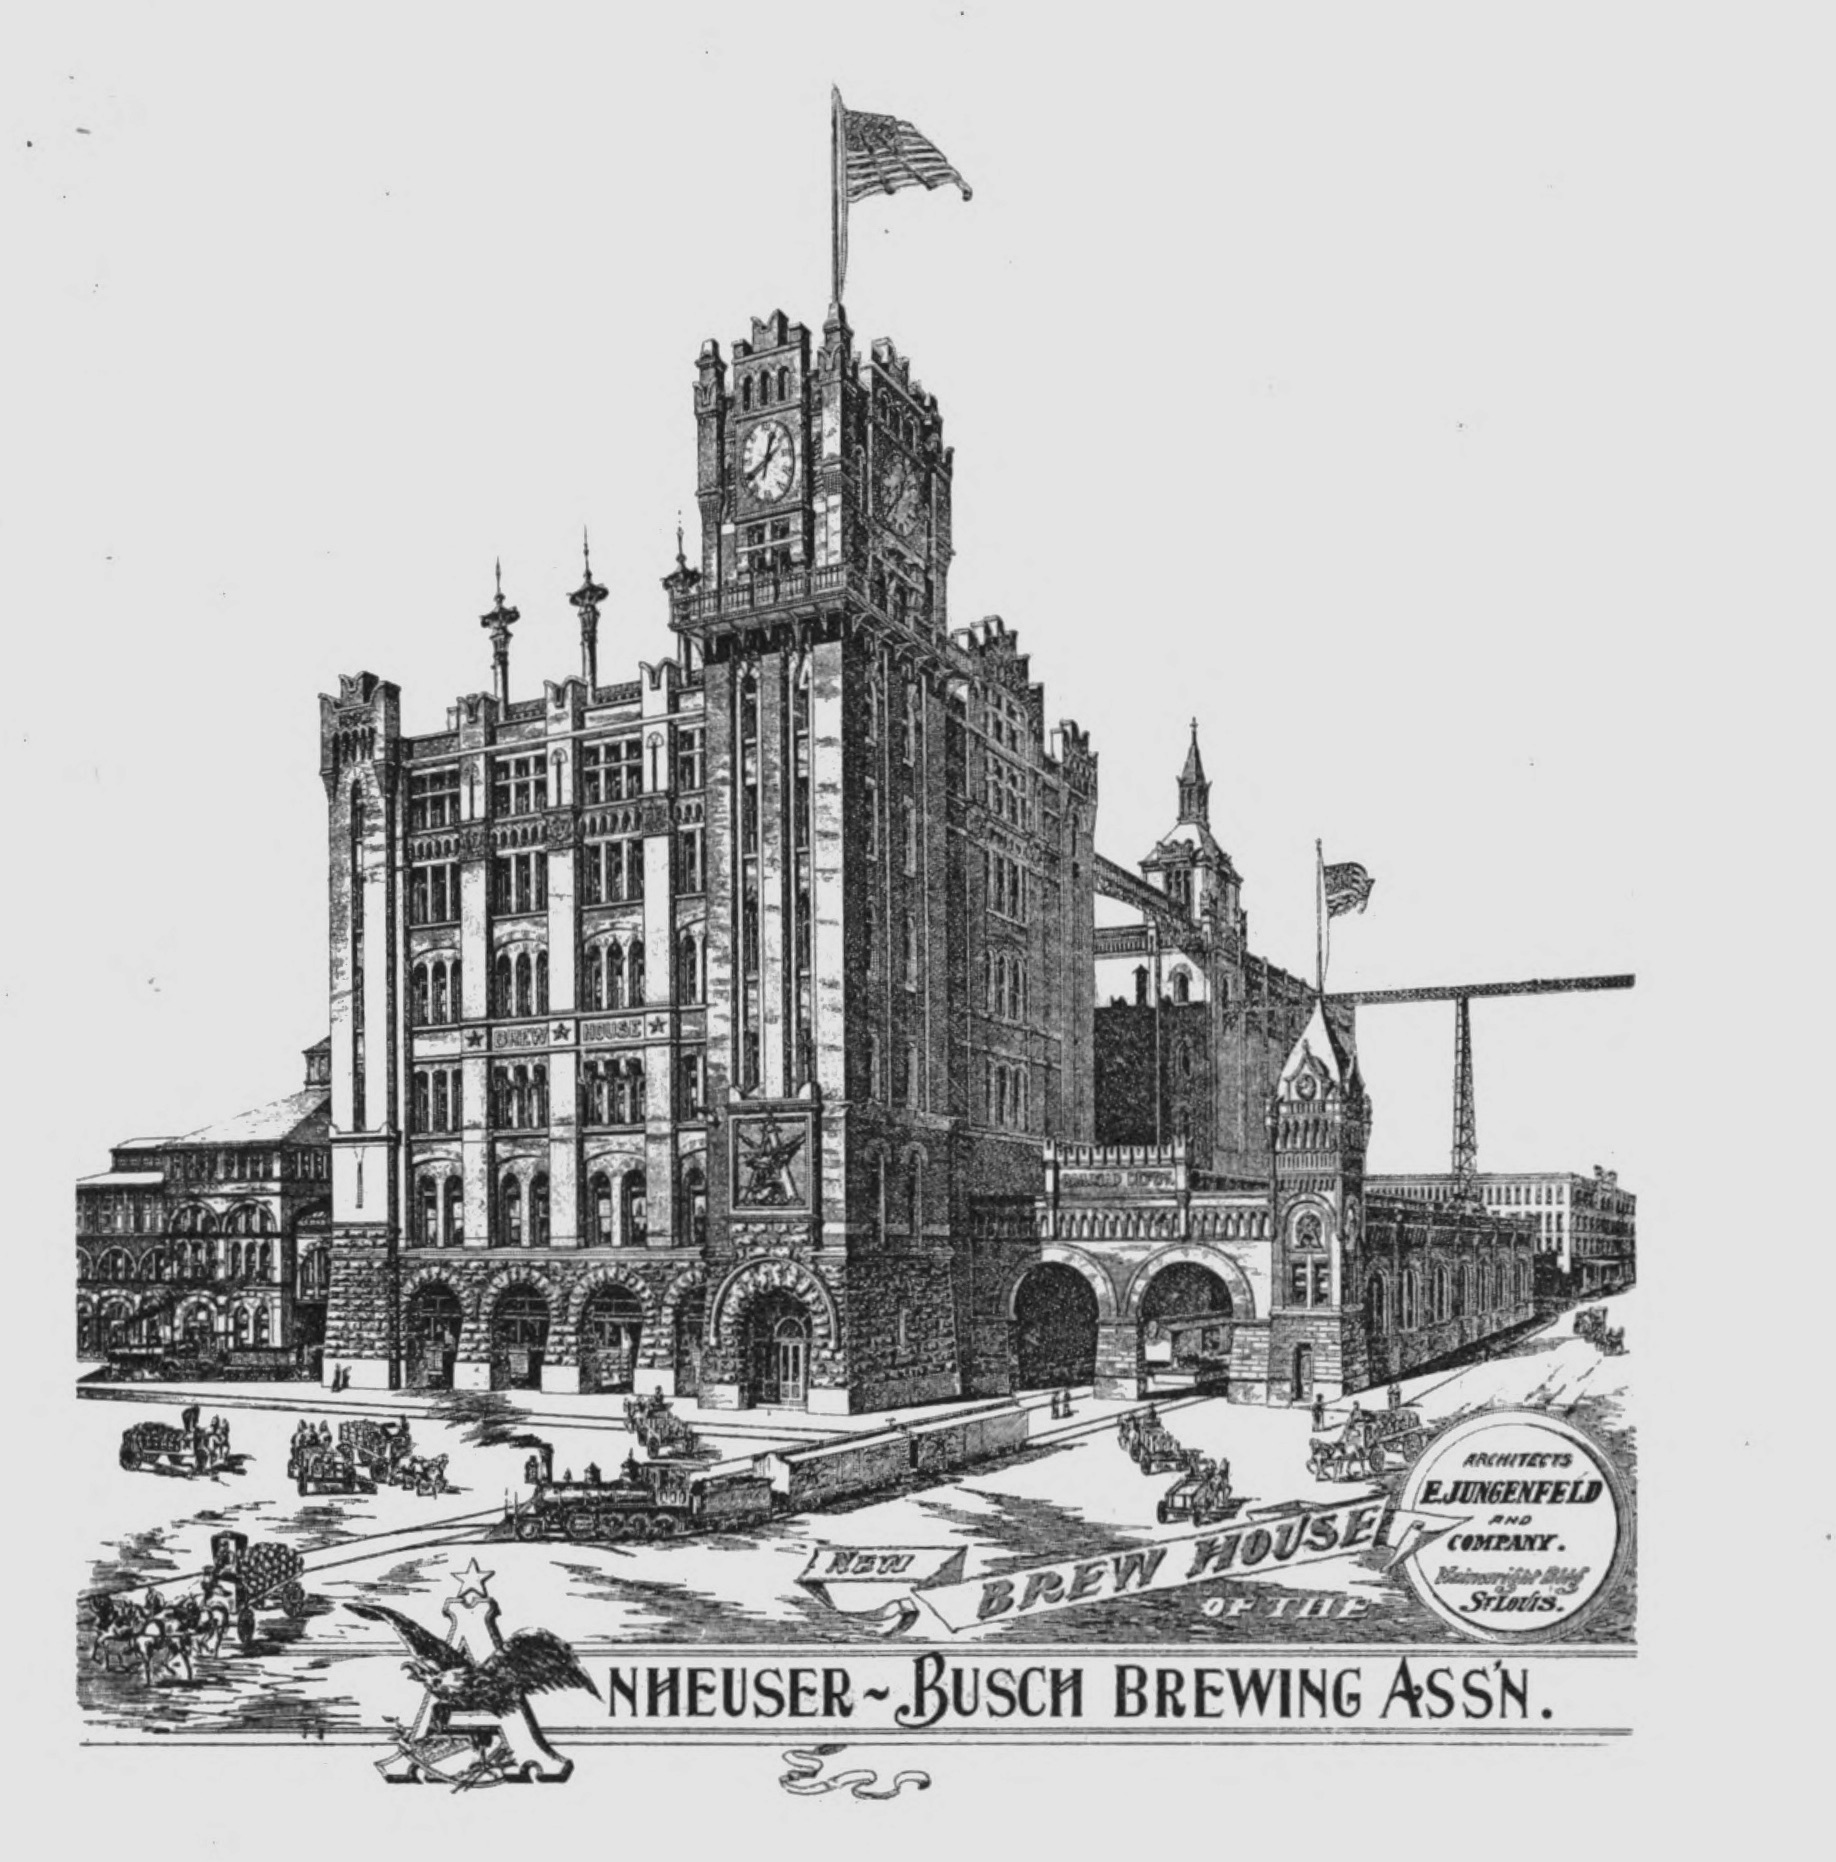
Johannes Olberg’s book “Moderne Braumethoden” from 1927 contains a multitude of recipes for more than 50 different beer styles. One of them is Kölsch, briefly discussed as the “national drink” of Cologne, and characterised as golden, thirst-quenching, “not too heavy but digestible” beer. The recipe is particularly interesting because it’s the only well-documented Kölsch recipe I’m aware of from before the end of World War 2.
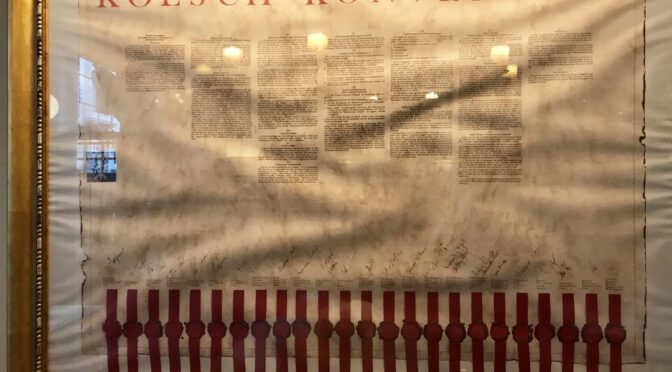
A lot has changed since then, and the Kölsch of 2024 is of course very different from Kölsch about 100 years earlier. Even the modern standards of what Kölsch is supposed to be, the “Kölsch-Konvention”, was only developed from 1981 onwards, Germany’s Federal Cartel Office signed off on in it 1985, and it was finally signed by 24 Kölsch breweries in 1986.
Olberg’s recipe doesn’t mention a specific malt to use, but judging from the colour description, we can assume that a pale malt like Pilsner malt was used.
A number of mashing methods were used, like Kesselmaische, or boiling one or two thick decoctions, but the following process was described more in detail:
The crushed malt is mashed in with brewing water to get to a temperature of 35°C, then rested for 30 minutes. After that time, the mash is slowly heated up to 50°C over the course of an hour (that’s 0.25°C per minute), and then to 70°C over the course of another hour (0.33°C per minute). It shall then rest at this temperature until the mash is fully converted. The author suggests that this would take 30 to 40 minutes and that an iodine test should be used to ensure full saccharification.
After that, the temperature shall be increased to the mash-out temperature of 76°C, either by heating up the mash, or by moving one third of the mash into the lauter tun and boiling two thirds of the mash in the kettle, then mixing it back into the mash to increase the temperature to 76°C (the two thirds doesn’t sound right, I’d reverse the ratios).
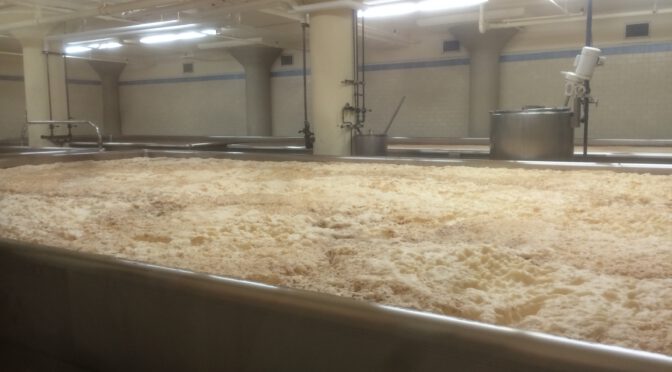
When the mash is in the lauter tun, lautering begins. About 6 to 8% of the total amount of hops are reserved for later, and of the remaining hops, a third is added to the first runnings. The wort boils for a total of 120 minutes.
Another third of the hops is added after an hour of boiling, and the last third is added 40 minutes before knock-out. The 6 to 8% of hops reserved earlier are added to the wort shortly before knock-out. The hopping rate is about 30.9g of hops per kg of malt that is mashed in.
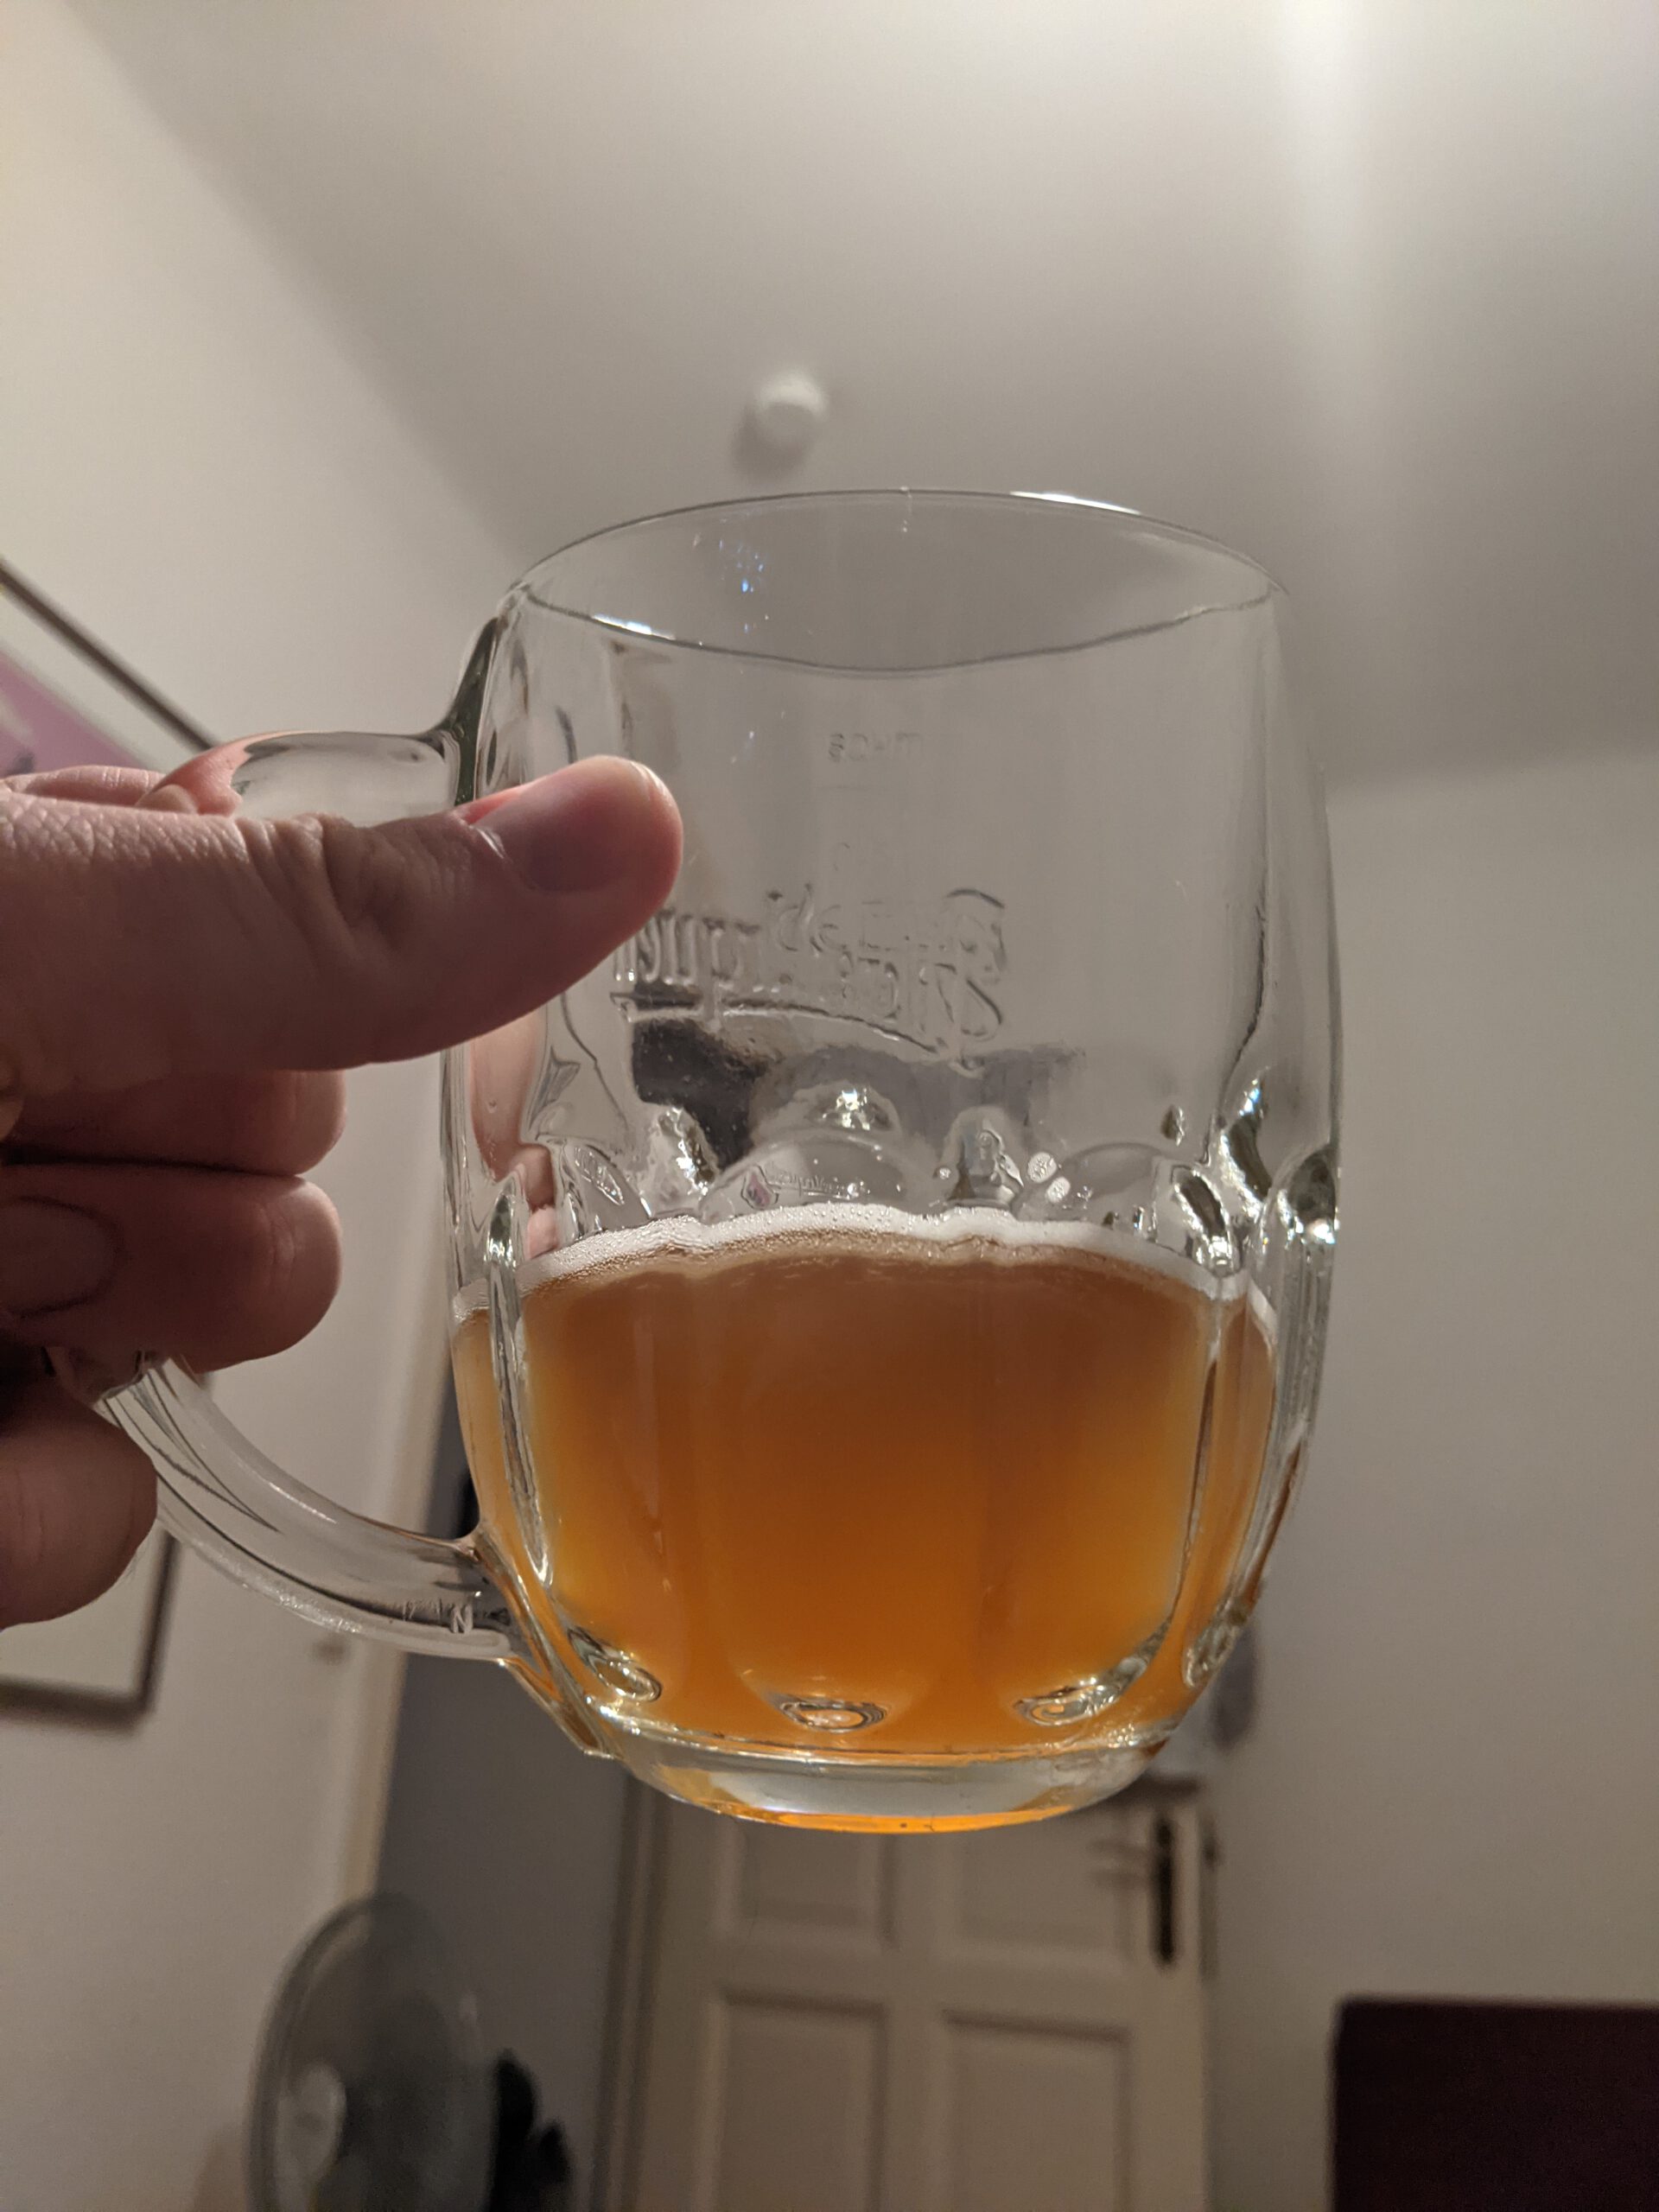
The resulting wort should have an original gravity of 11 to 12°P.
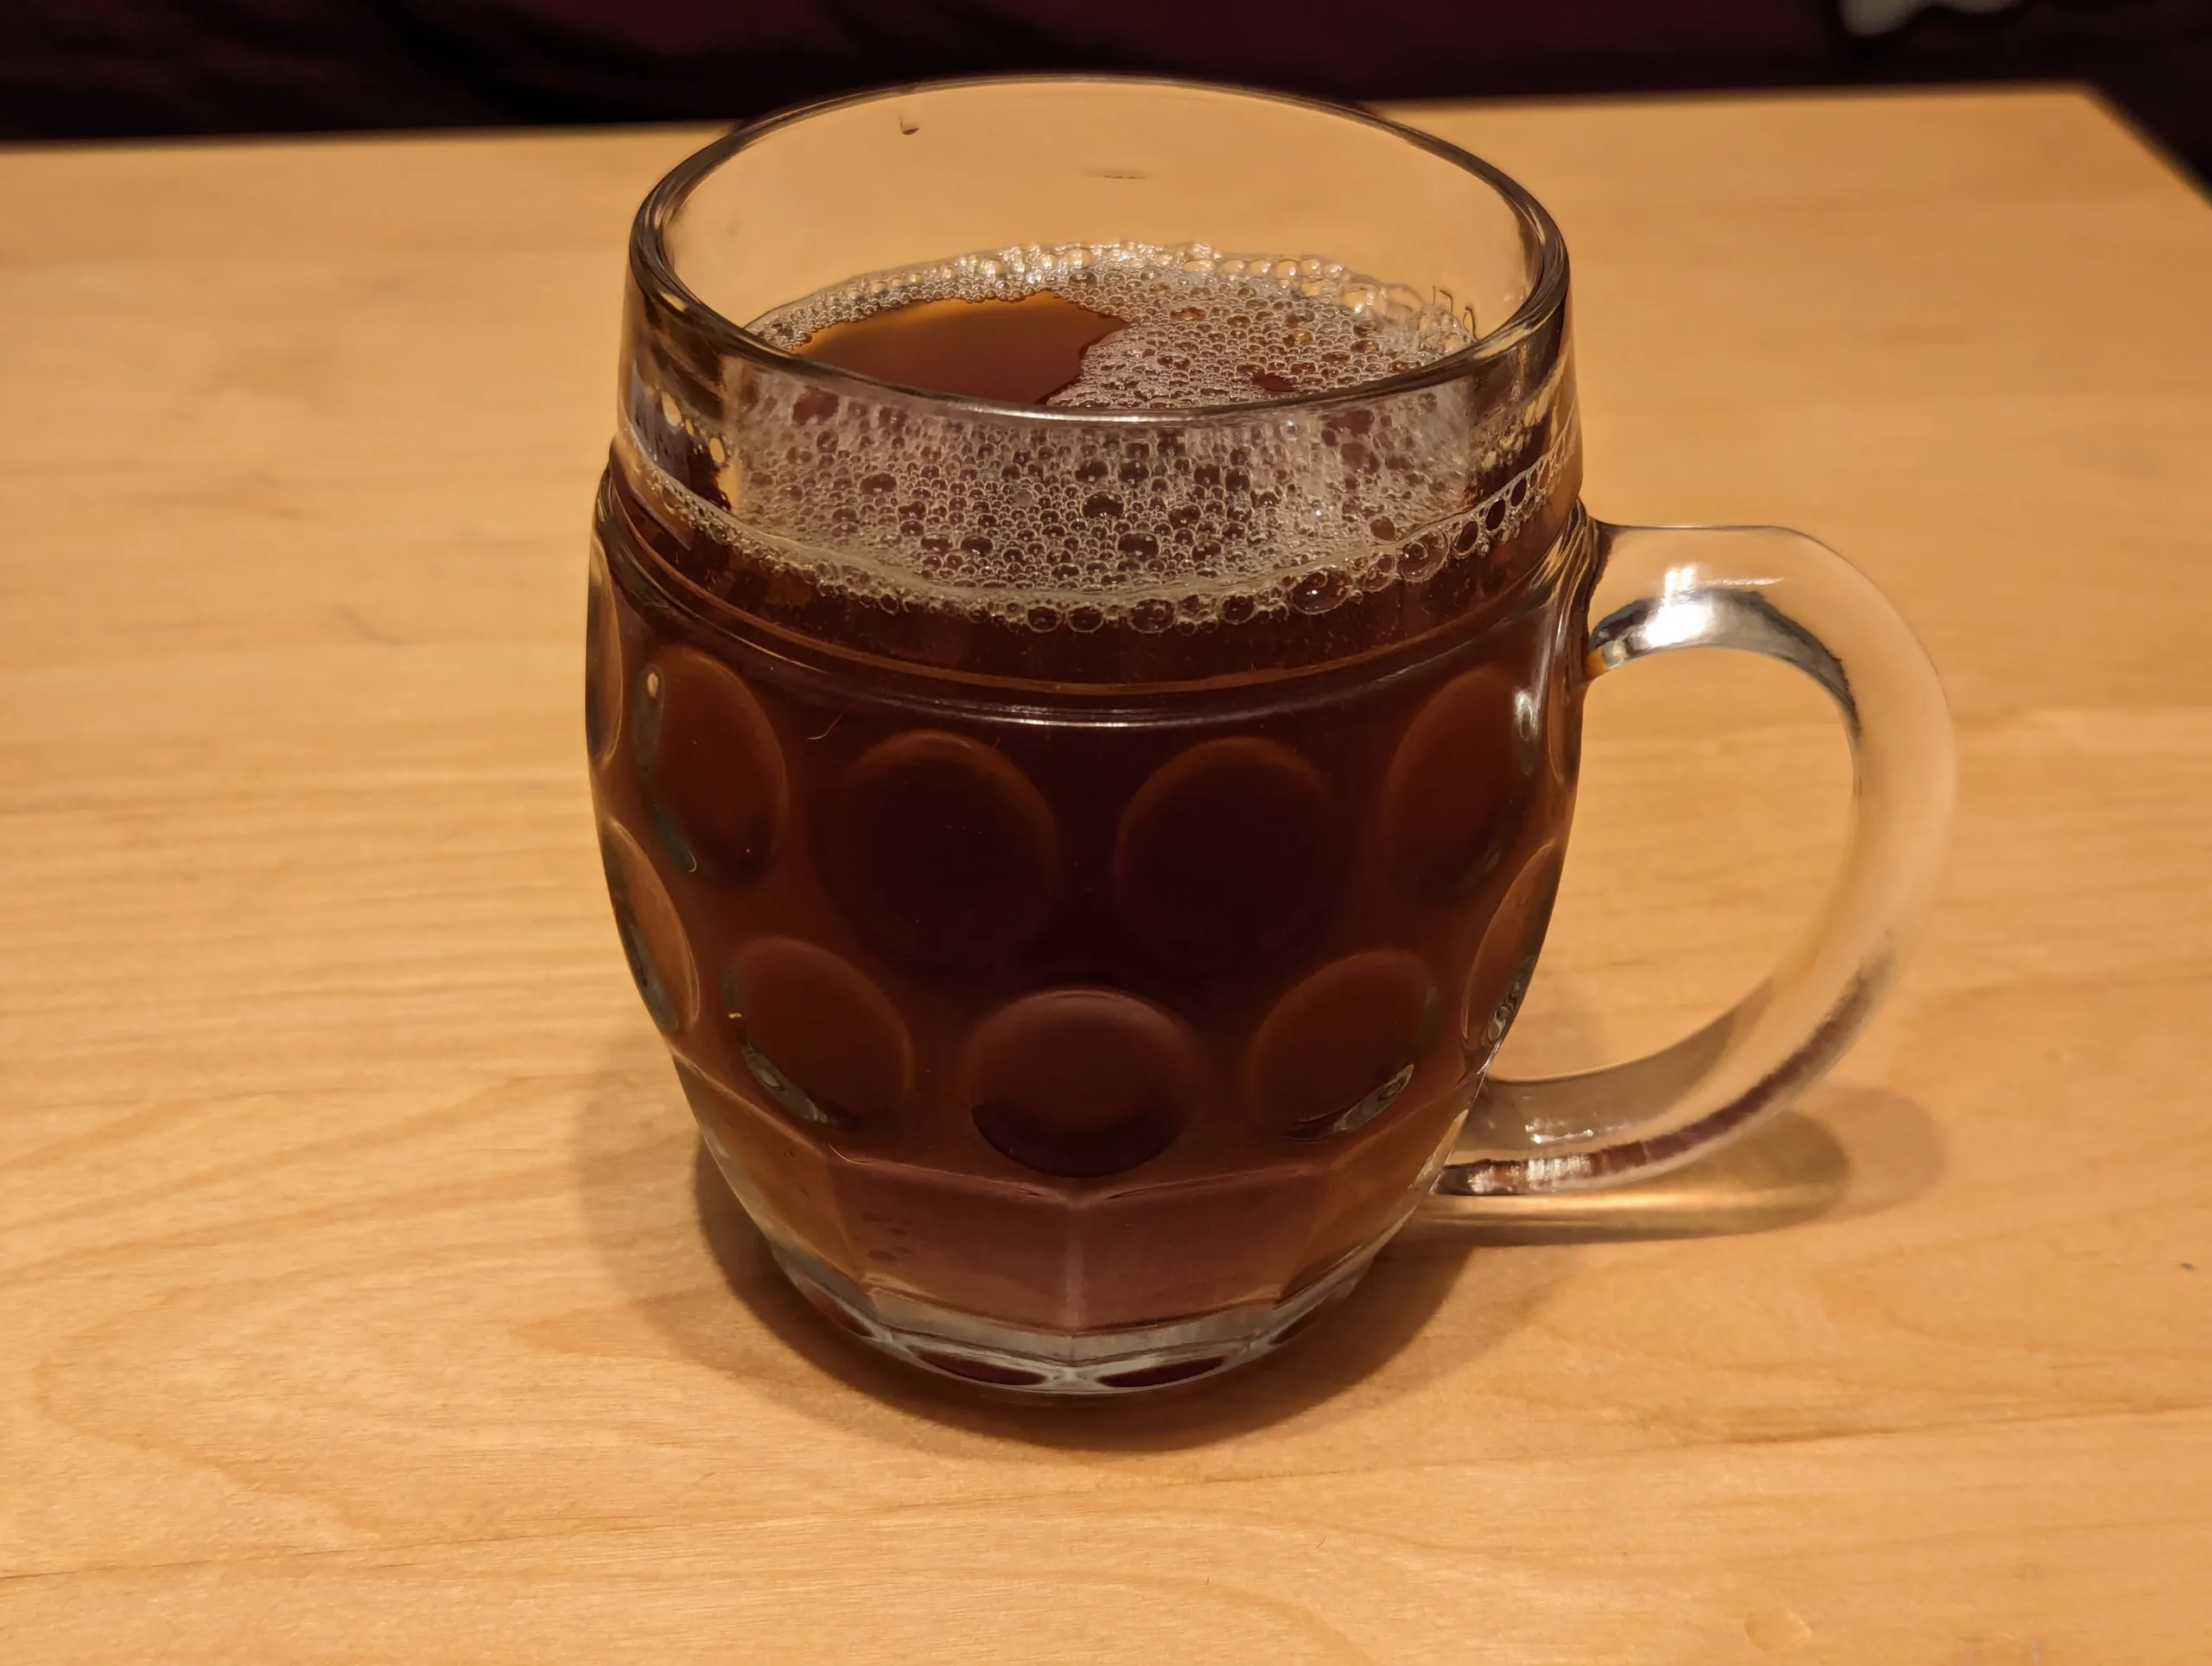
The wort is then chilled to 10°C and the Kölsch yeast is pitched. Fermentation should last about 5 days. After fermentation is finished, it is then pumped over into maturation casks which are only loosely bunged. After 5 to 6 weeks the beer can get filtered and sent out to customers.
The maturation casks are also prepared before the young beer is pumped in: hops (at a rate of about 0.9 g/l) are put in 75°C hot water for about 30 minutes, then the steeping water and the hops are added to the casks.
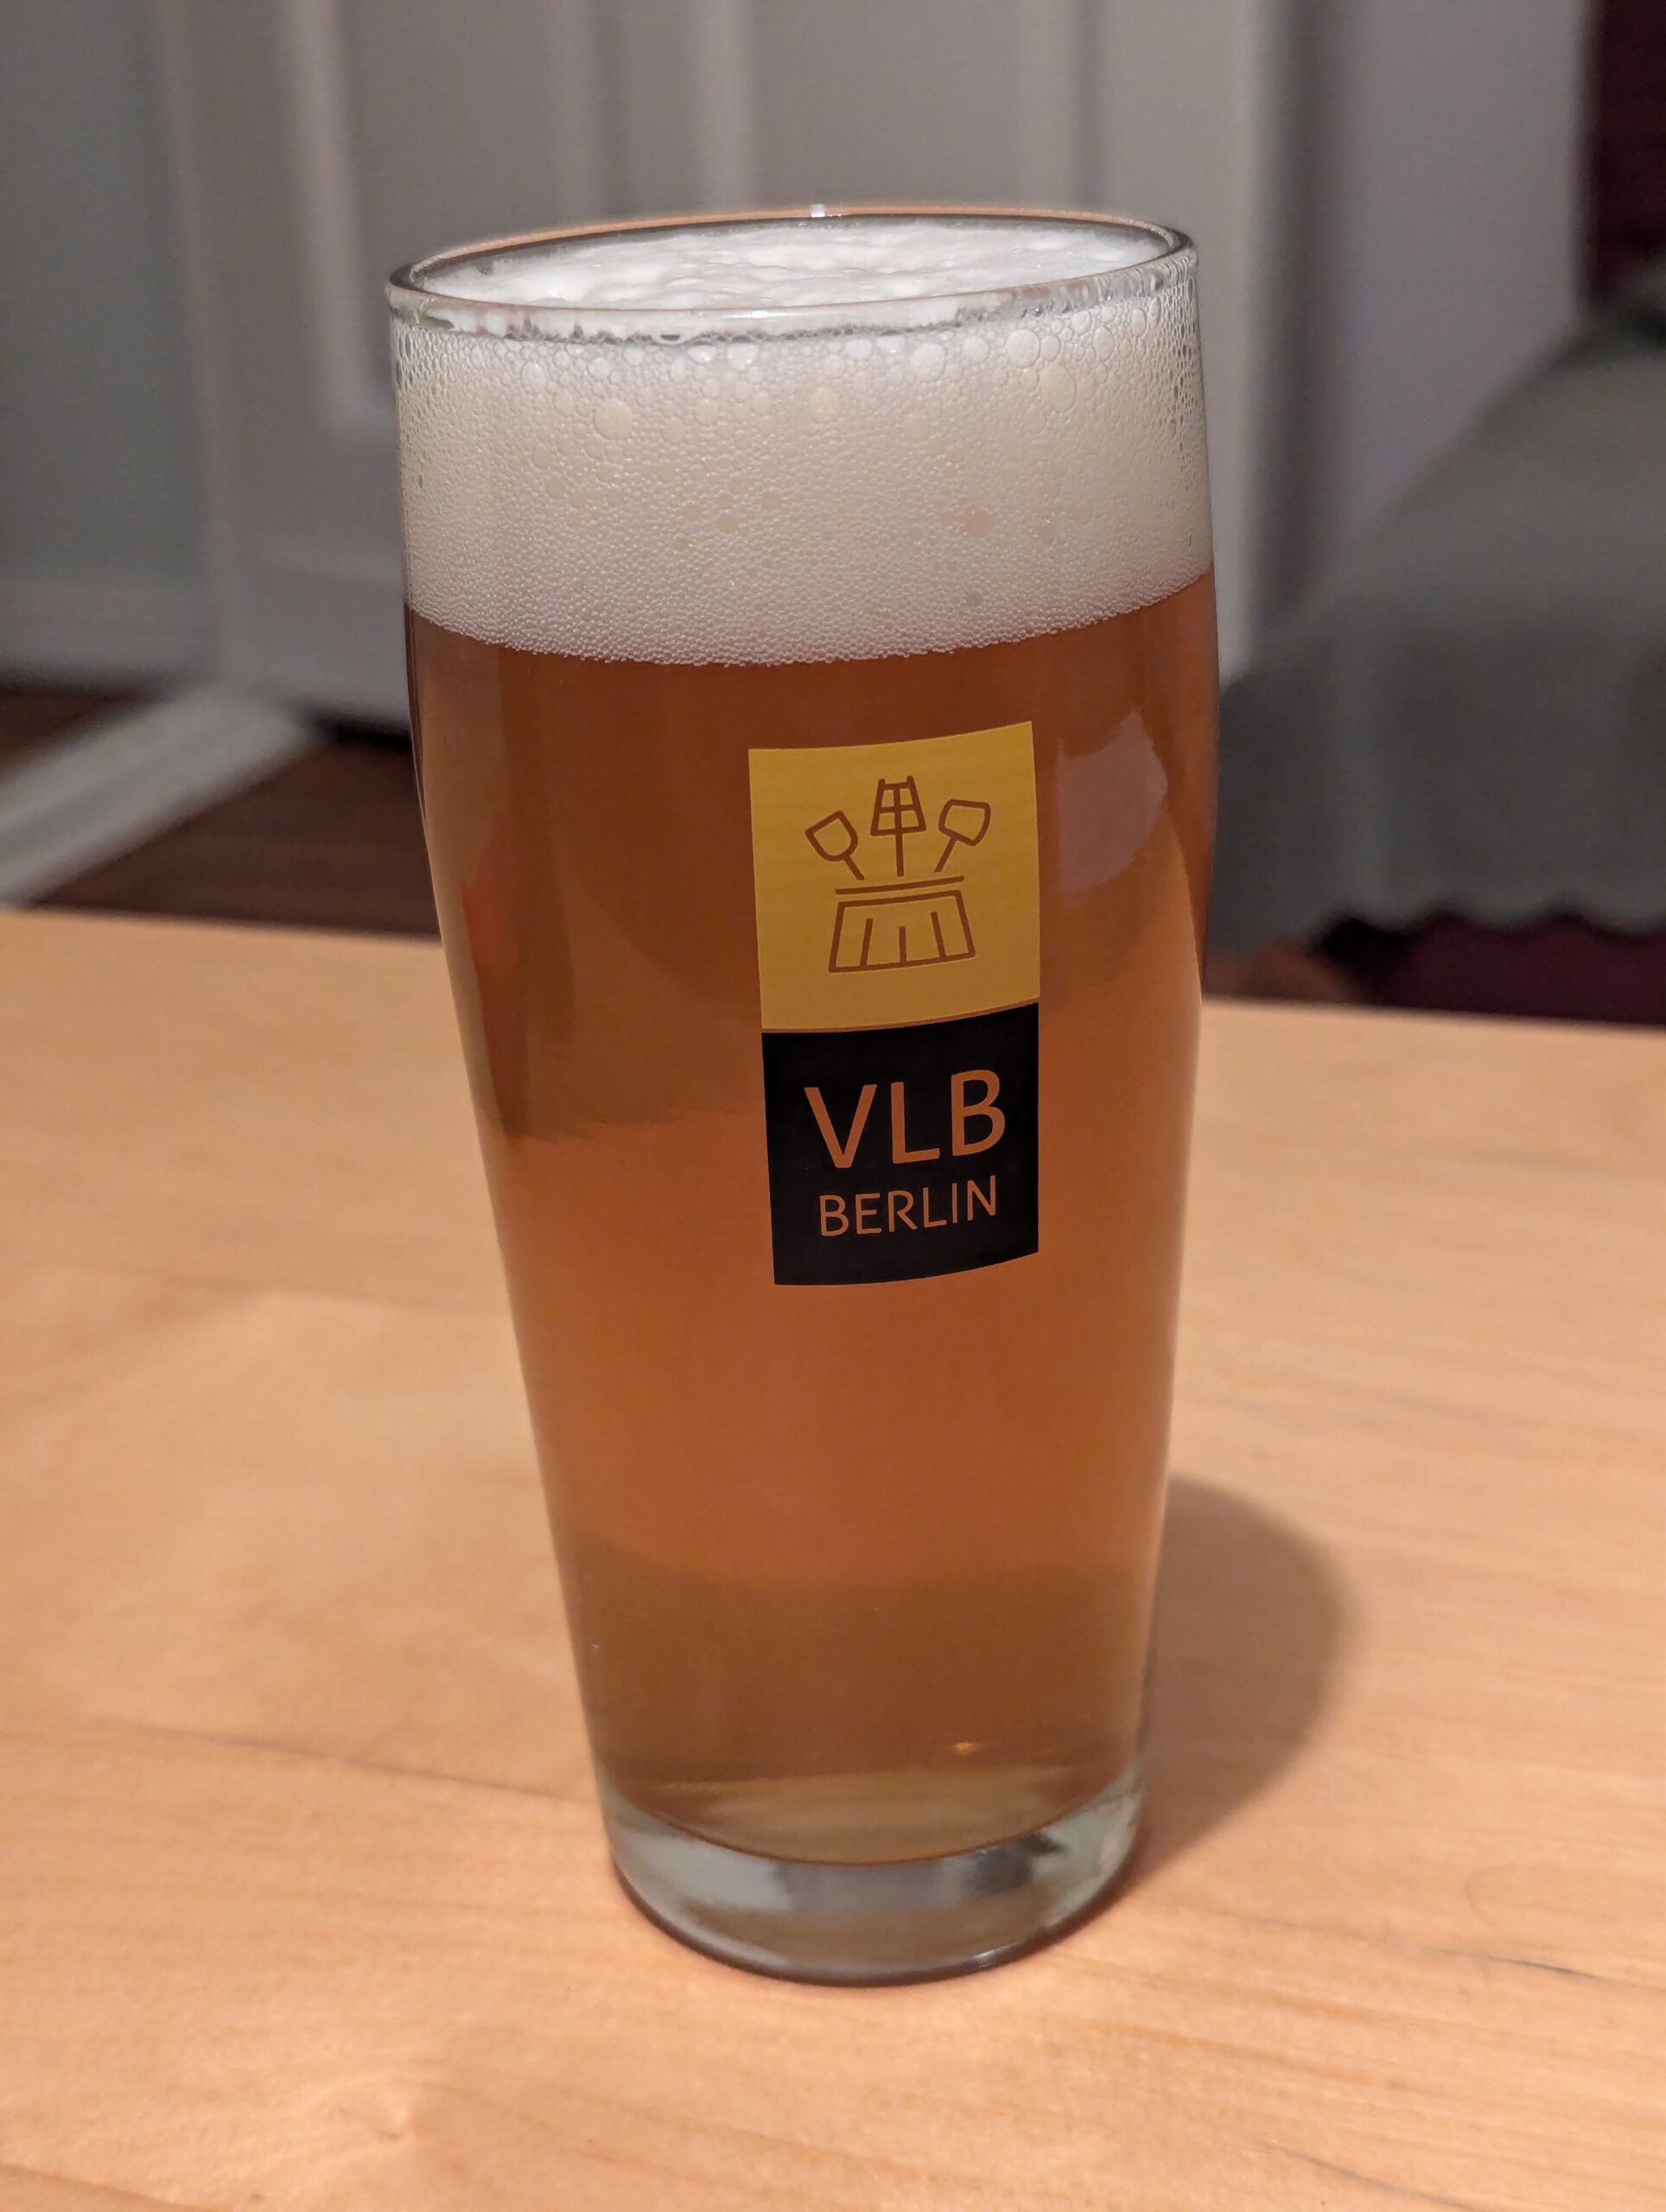
Using all this information, I came up with the following recipe to brew about 20 liters of this historic Kölsch:
- 4.9kg Pilsner malt
- 150g hops, ideally a traditional low-alpha-acid German variety with a fine aroma, the finer the better. For my recipe, I assumed Hersbrucker with 3% alpha acid, but Spalter, Hallertauer mittelfrüh or Tettnanger would be equally suitable.
- German Kölsch yeast, e.g. WLP029
Mash in with 14 liters of water, then proceed with mashing and lautering as described above. The hop additions are:
- 46g hops in first runnings
- 46g hops 60 minutes before end of boil
- 46g hops 40-x minutes before end of boil
After the end of the boil, whirlpool, then knock-out. Take the time between end of boil and knock-out into consideration for the last hop addition (it’s basically the x in the last hop addition). Shortly before knock-out, add 12g of hops to the wort.
Chill the wort to 10°C, then pitch the Kölsch yeast. Wait until fermentation is finished, then add 18g hops to a small amount of water and keep it at a temperature of 75°C for 30 minutes. Depending on whether you move the young beer into a separate vessel for maturation or not, either add the hops-water mixture into the maturation vessel before you pump in the beer, or simply add it to the fermenters. Mature the beer for 5 to 6 weeks, then carbonate, filter (if you have the facilities, most homebrewers don’t) and package it.
The resulting beer should have about 12°P. If you’re using hops with 3% alpha acid, the final beer should have about 44 IBU (calculated).
In terms of bitterness, this is a very different beer from modern Kölsch. And not only is it quite bitter, it is also kind of dry-hopped. The difference is that the hops were briefly treated with hot water at 75°C, which should denature the natural amylase enzymes in the hops which could cause hop creep, but is still not quite hot enough to cause the alpha acid to be isomerised and introduce even more bitterness in the beer.
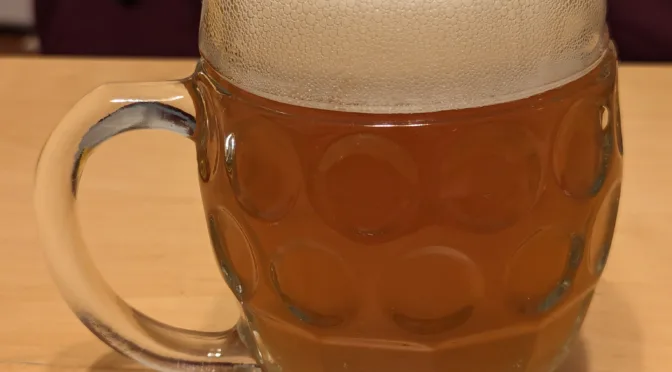
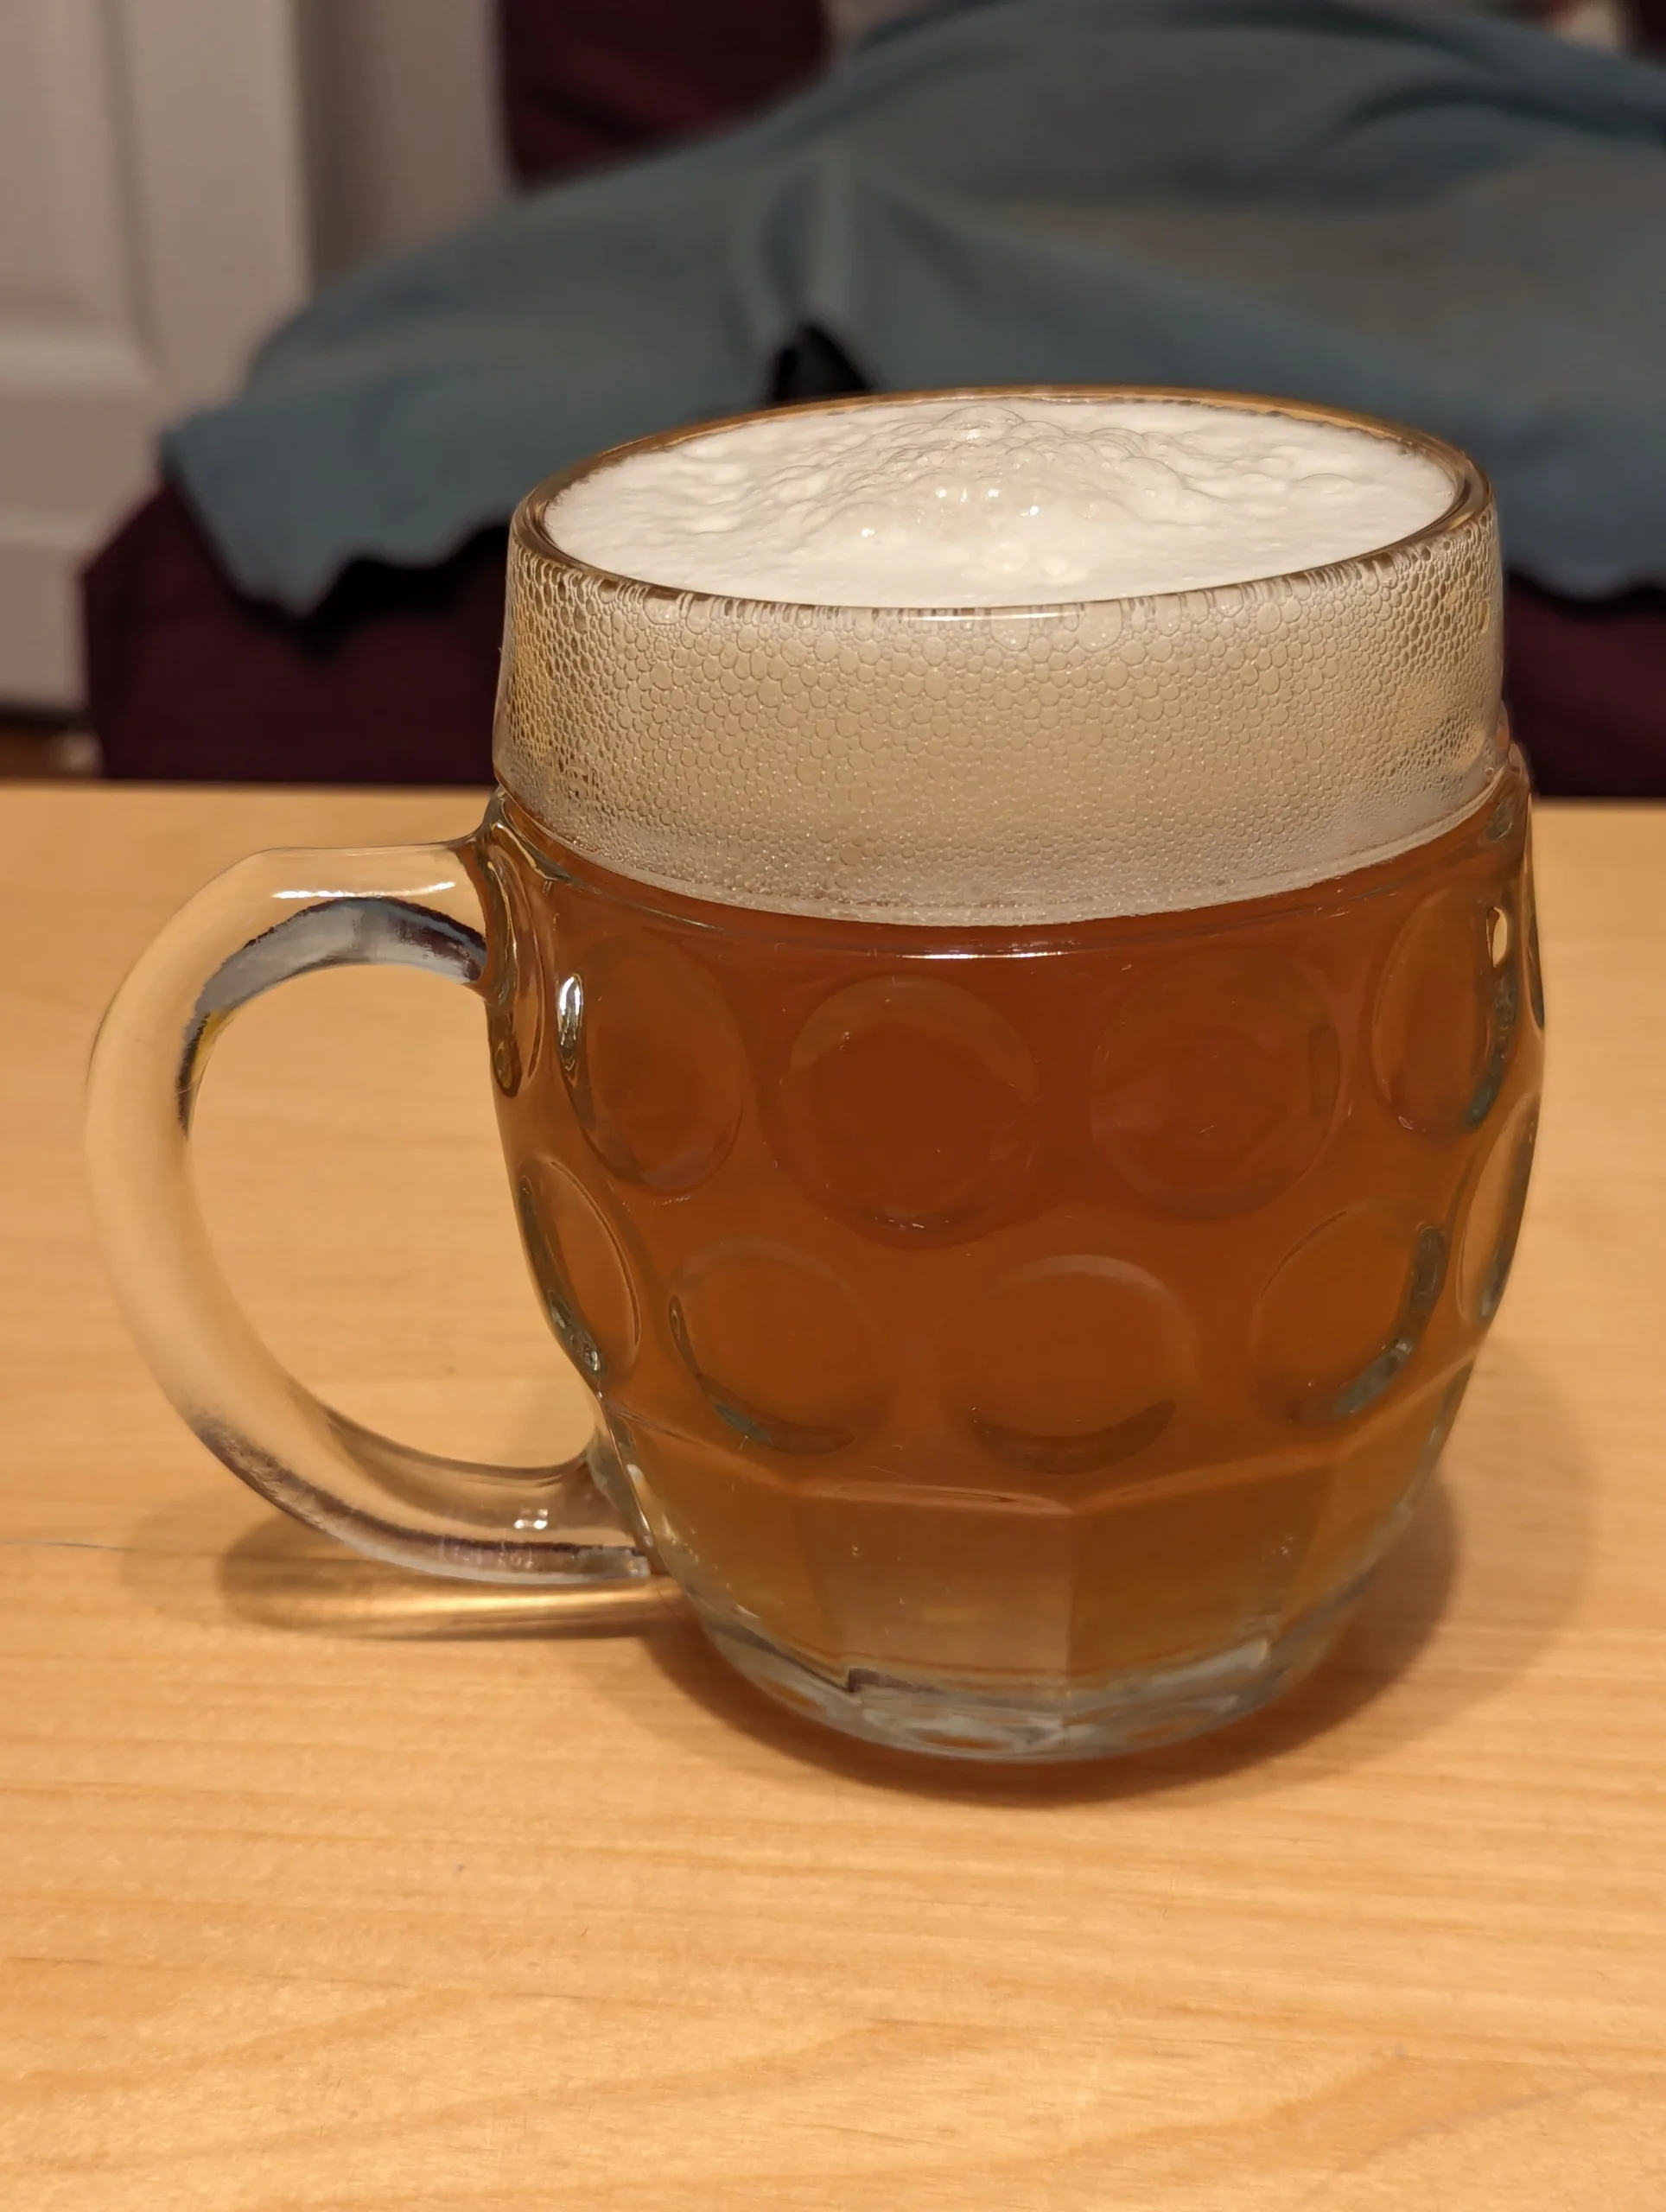
So, if you want to rebrew a hundred year old historic Kölsch, this recipe is a good place to start.


