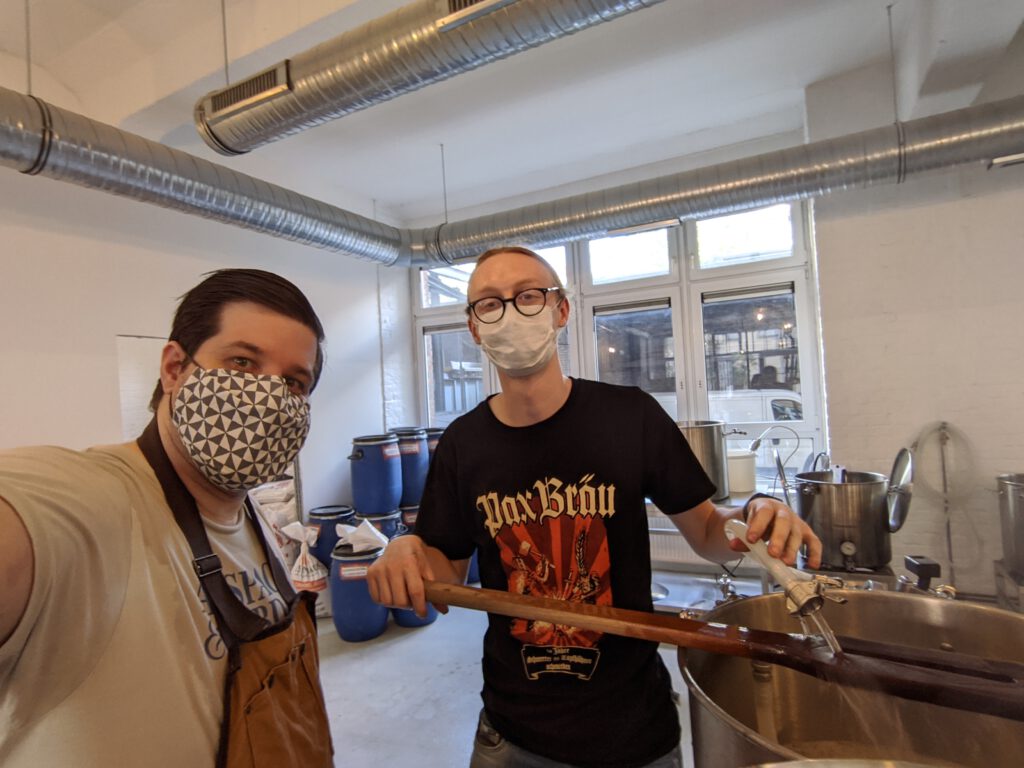
Today, I brewed together with Ben Palmer at the MASH PIT, a kind of nanobrewery/home-brewing co-working space that allows you to brew your own beer on the brew kits installed there. Ben had recently moved to Berlin, and since we knew each other through Twitter, we met up and eventually decided to brew a beer together.
One thing that I’ve been wanting to do for a long time at the MASH PIT was to brew a beer using a decoction mash. Ben was also happy to do that, so we agreed on a simple recipe. Our grist consisted of 98% Pilsner malt and 2% CaraMunich II, while the hops we chose were Celeia (Ben had never used Slovenian hops, and since I hadn’t either, I was happy to also try them out). The original idea was to ferment it with a Kölsch yeast, but since we were informed that the MASH PIT had run out of that yeast the day before the brew day, so we substituted it with Nottingham Ale yeast instead, another fairly neutral and attenuative top-fermenting yeast. For mashing, we wanted to do a double decoction, for several reasons: my reasons were that I wanted to try brewing a double-decocted beer on the MASH PIT kit, and I also wanted to try brewing an ale of some sorts that had a distinct decoction character. This was something I had stuck in my head ever since my last visit to Prague, where I tried a few ales [sic!] from Pivovar Matuška, and they all had a distinct “Czech” flavour that I could only attribute to decoction mashing. Ben’s reason to try out double decoction was that he hadn’t really much experience beyond a few demonstrations at his vocational school.
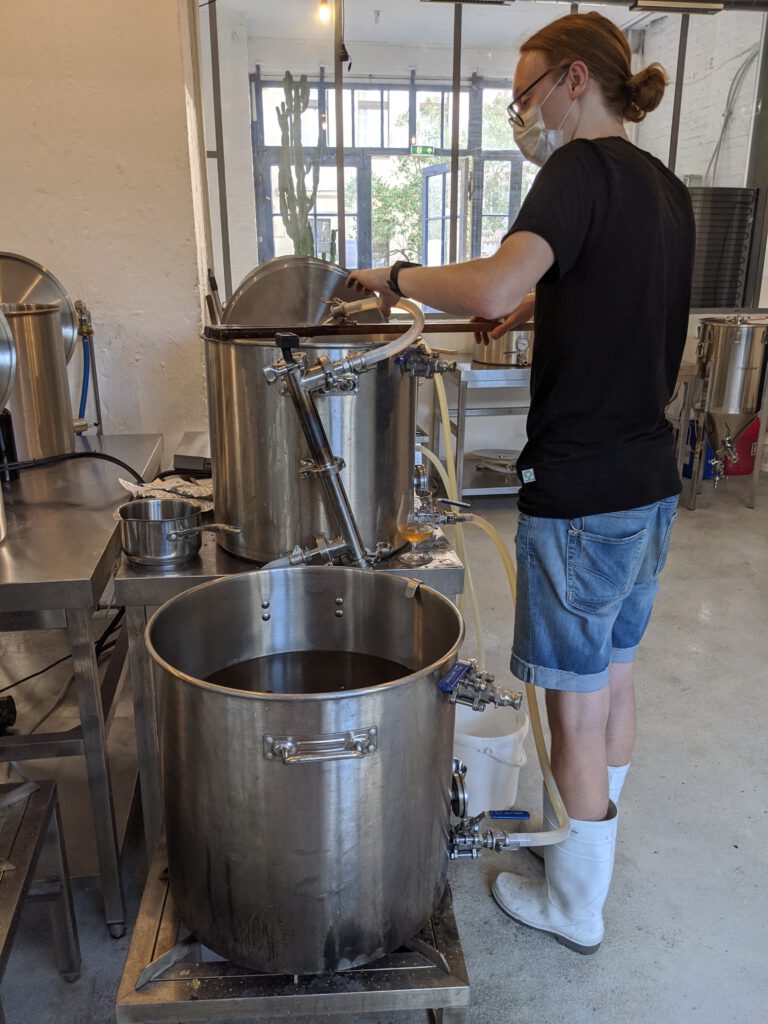
A few words on the MASH PIT brew kit: it is fairly simple and straight-forward. It consists of three large pots of maybe 75 litres volume (the scale only goes to 65), all equipped with taps on the bottom and the top and embedded thermometers. One of these pots is sat on a gas burner and mainly serves as kettle to boil the wort as well as to heat up the liquor (brewing water). The middle pot serves as mash and lauter tun and is equipped with a removable false bottom. It also comes with a RIMS attachment that allows you to pump wort (a liquid pump is part of the setup) from the false bottom through the attachment and sprinkle it again on top of the mash. The attachment has a heating element that can be turned off and on. With this setup, you can do a multi-step infusion mash fairly easily. The third pot is also equipped with an electric heating element and mainly serves as hot liquor tank (HLT). Through three switches, you can turn on and off pump, RIMS heating element and HLT heating element.
But instead of following this scheme, we instead decided to repurpose the kit for decoction mashing. With about 11 kg of grist, we filled the mash tun with 44 l of liquor at 45°C, then mashed in. This increased the overall mash volume to 55 l. The mash temperature was 41°C. After a short rest, we pulled 36 l (i.e. two thirds) of thick decoction and moved it over to the kettle. We brought the decoction up to a temperature of 70°C, which went very quickly thanks to the powerful burner. A quick rest of 15 minutes to at least partially convert the available starch, and then brought the mash up to a boil. That’s where the problems started: we had a bit of a boil-over, which was our mistake as we partially covered the pot with the lid and also kept it unwatched. After a quick cleanup and making sure we hadn’t lost much of our decoction, we continued boiling it for another 10 minutes.
We then started mixing the decoction back into the main mash. We noticed that even though we had moved only about 50% of the decoction, we were already overshooting our target temperature of 65°C. That was not good. We had to improvise somehow, and so we decided to add some more cold water to the decoction to bring its temperature down. We eventually got that done and ended up with a mash at pretty much exactly 65°C, but now with a total volume of more than 60 litres, which we left to rest for 50 minutes.
So obviously we had overdone it with the decoction volume. I had chosen two thirds as the initial volume because that’s what had worked for me at home on my home-brew kit. Except my kit at home is for 20 litre batches, while this system is for 50 litre batches. I realize that my home system is at such a small scale that boiled mash can cool down fairly quickly, but I didn’t think that effect would effectively disappear at at scale-up from 20 to 50 litres.
The change in mash volume also meant that any previous estimations of the volume for the second decoction were out the window. We then decided to just estimate it to one third of the total volume, and then a bit, so the second decoction we pulled was thin and sized at 25 litres.
We brought this second decoction again to a boil, boiled it for 5 minutes, and then mixed it back again. By that time, the main mash had cooled down to 61°C, so the final temperature after mixing back was only 71°C. Not exactly the 75°C where we wanted to get to, but still good enough. We then left the mash to rest for another 30 minutes and prepared for lautering and sparging: we cleaned the kettle, filled up the HLT and heated the sparging liquor.
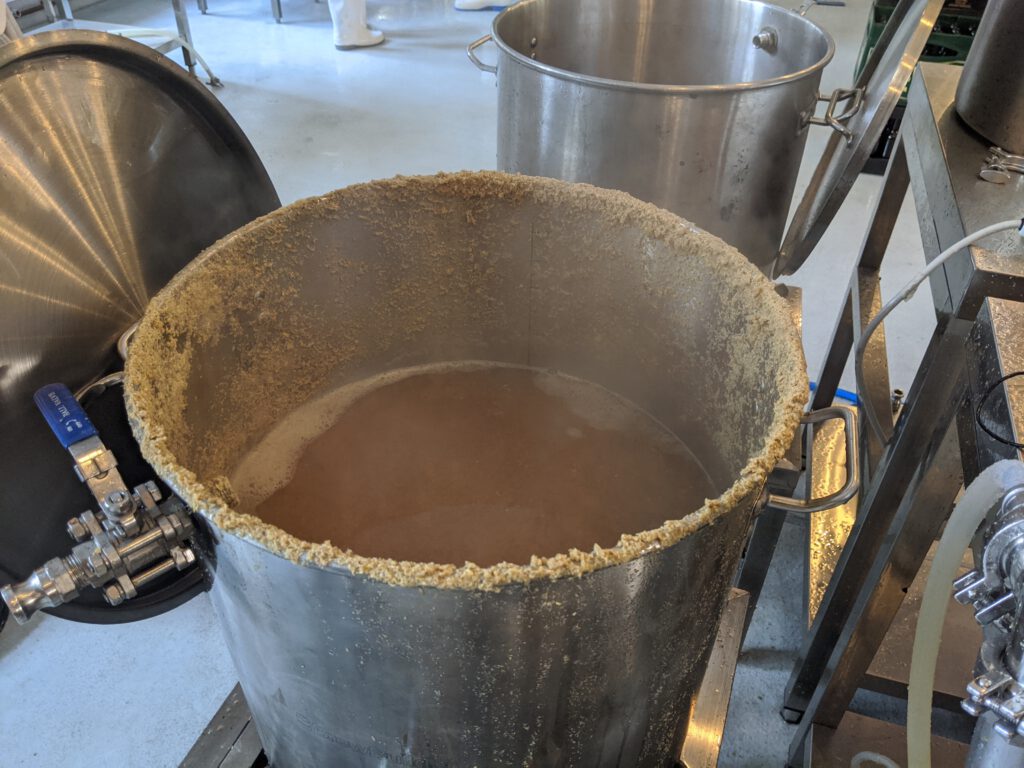
With everything prepared, we decided to just skip the iodine rest (YOLO, right?) and started a vorlauf. We only got very few hard bits and very quickly got a very clear wort. We then connected the mash/lauter tun’s tap to the kettle, and slightly opened the tap. Lautering went quickly and ran off smoothly, looking very clear and bright. We then started sparging by pumping liquor from the HLT onto the mash, breaking up the stream with a highly technical piece of equipment: the mash paddle.
We managed to collect a total of 63 litres of sweet wort. In the end, this was limited by gravity: at 63 litres, the level of the wort was the same as the tap of the mash/lauter tun. We then starting bringing the wort to a boil.
Ben then had the idea that we should check the gravity of the last runnings with the refacrometer that we had used to check on gravities during the process. Turned out, the “last” runnings still were at more than 5°Brix. Instead of just conceding to the laws of gravity, we should have lautered the last remains into a separate vessel and topped off the kettle instead. It probably would have also helped with another issue we noticed: according to the refractometer, the pre-boil gravity was at 12.4°Brix. Our plan was to have an OG of 11.8°P (°P and °Brix are very similar scales, and virtually identical and practically interchangeable). So strangely, we seemed to have a much higher OG to expect than what we had planned and calculated. Of course, we didn’t know what extract efficiency to expect on this home-brew kit, but still.
We decided to continue with boiling the wort anyway, and added hop additions at 90 minutes and 5 minutes before flame-out, and then more during whirlpool. Post-boil gravity according to the refractometer was at 15°Brix. This was way too much, and would have meant a much greater efficiency than what we could have planned for.
We then sent the hot wort through the plate chiller to the fermenter at a nice 18°C, and measured the OG using a saccharometer. It really was at 14.1°P. This was weird, a difference of almost one degree. I then rechecked the refractometer with just water, and it turned out that refractometer wasn’t properly calibrated.
Another problem also popped up when pumping the wort from the kettle through the plate chiller to the fermenter: towards the end, we started pulling in hot break and hop particles. We were then told that they actually had a hop filter that we should have attached that would have allowed us to get more of the wort from the kettle to the fermenter without sucking up any of the gunk. We had to stop the pump early, and only ended up with about 45 litres of wort, but at a higher OG than we what we wanted.
Our solution to that was simple but almost embarrassing: we decided to dilute the wort with cold water to bring the OG down to 12°P. The final step was then to hydrate the yeast (3 sachets of Nottingham Ale yeast should do just fine) with some fresh wort, pitch it, and move the fermenter to the temperature-controlled fermentation room.
The day was concluded with lots of cleaning up and a glass of cold, fresh beer from the MASH PIT tap room. A lot of things went wrong during the brew day, but we managed to salvage any issues, and still arrived at something that I think should come out pretty nicely. I’m definitely looking forward to trying out the resulting beer. The main things I want to see is whether I really do get a pronounced decoction character in the beer, and of course, what Celeia hops taste like in a beer.