I feel like I’ve mostly blogged about beer history in the last year, but the truth is: I still brew beer at home. So this time, I want to talk about what beers I brewed for myself together with friends as the summer beers of 2024.
Czech 8° Pale Lager, Revision 3
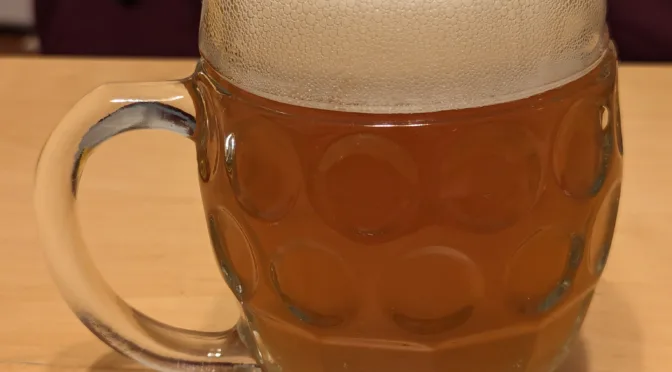
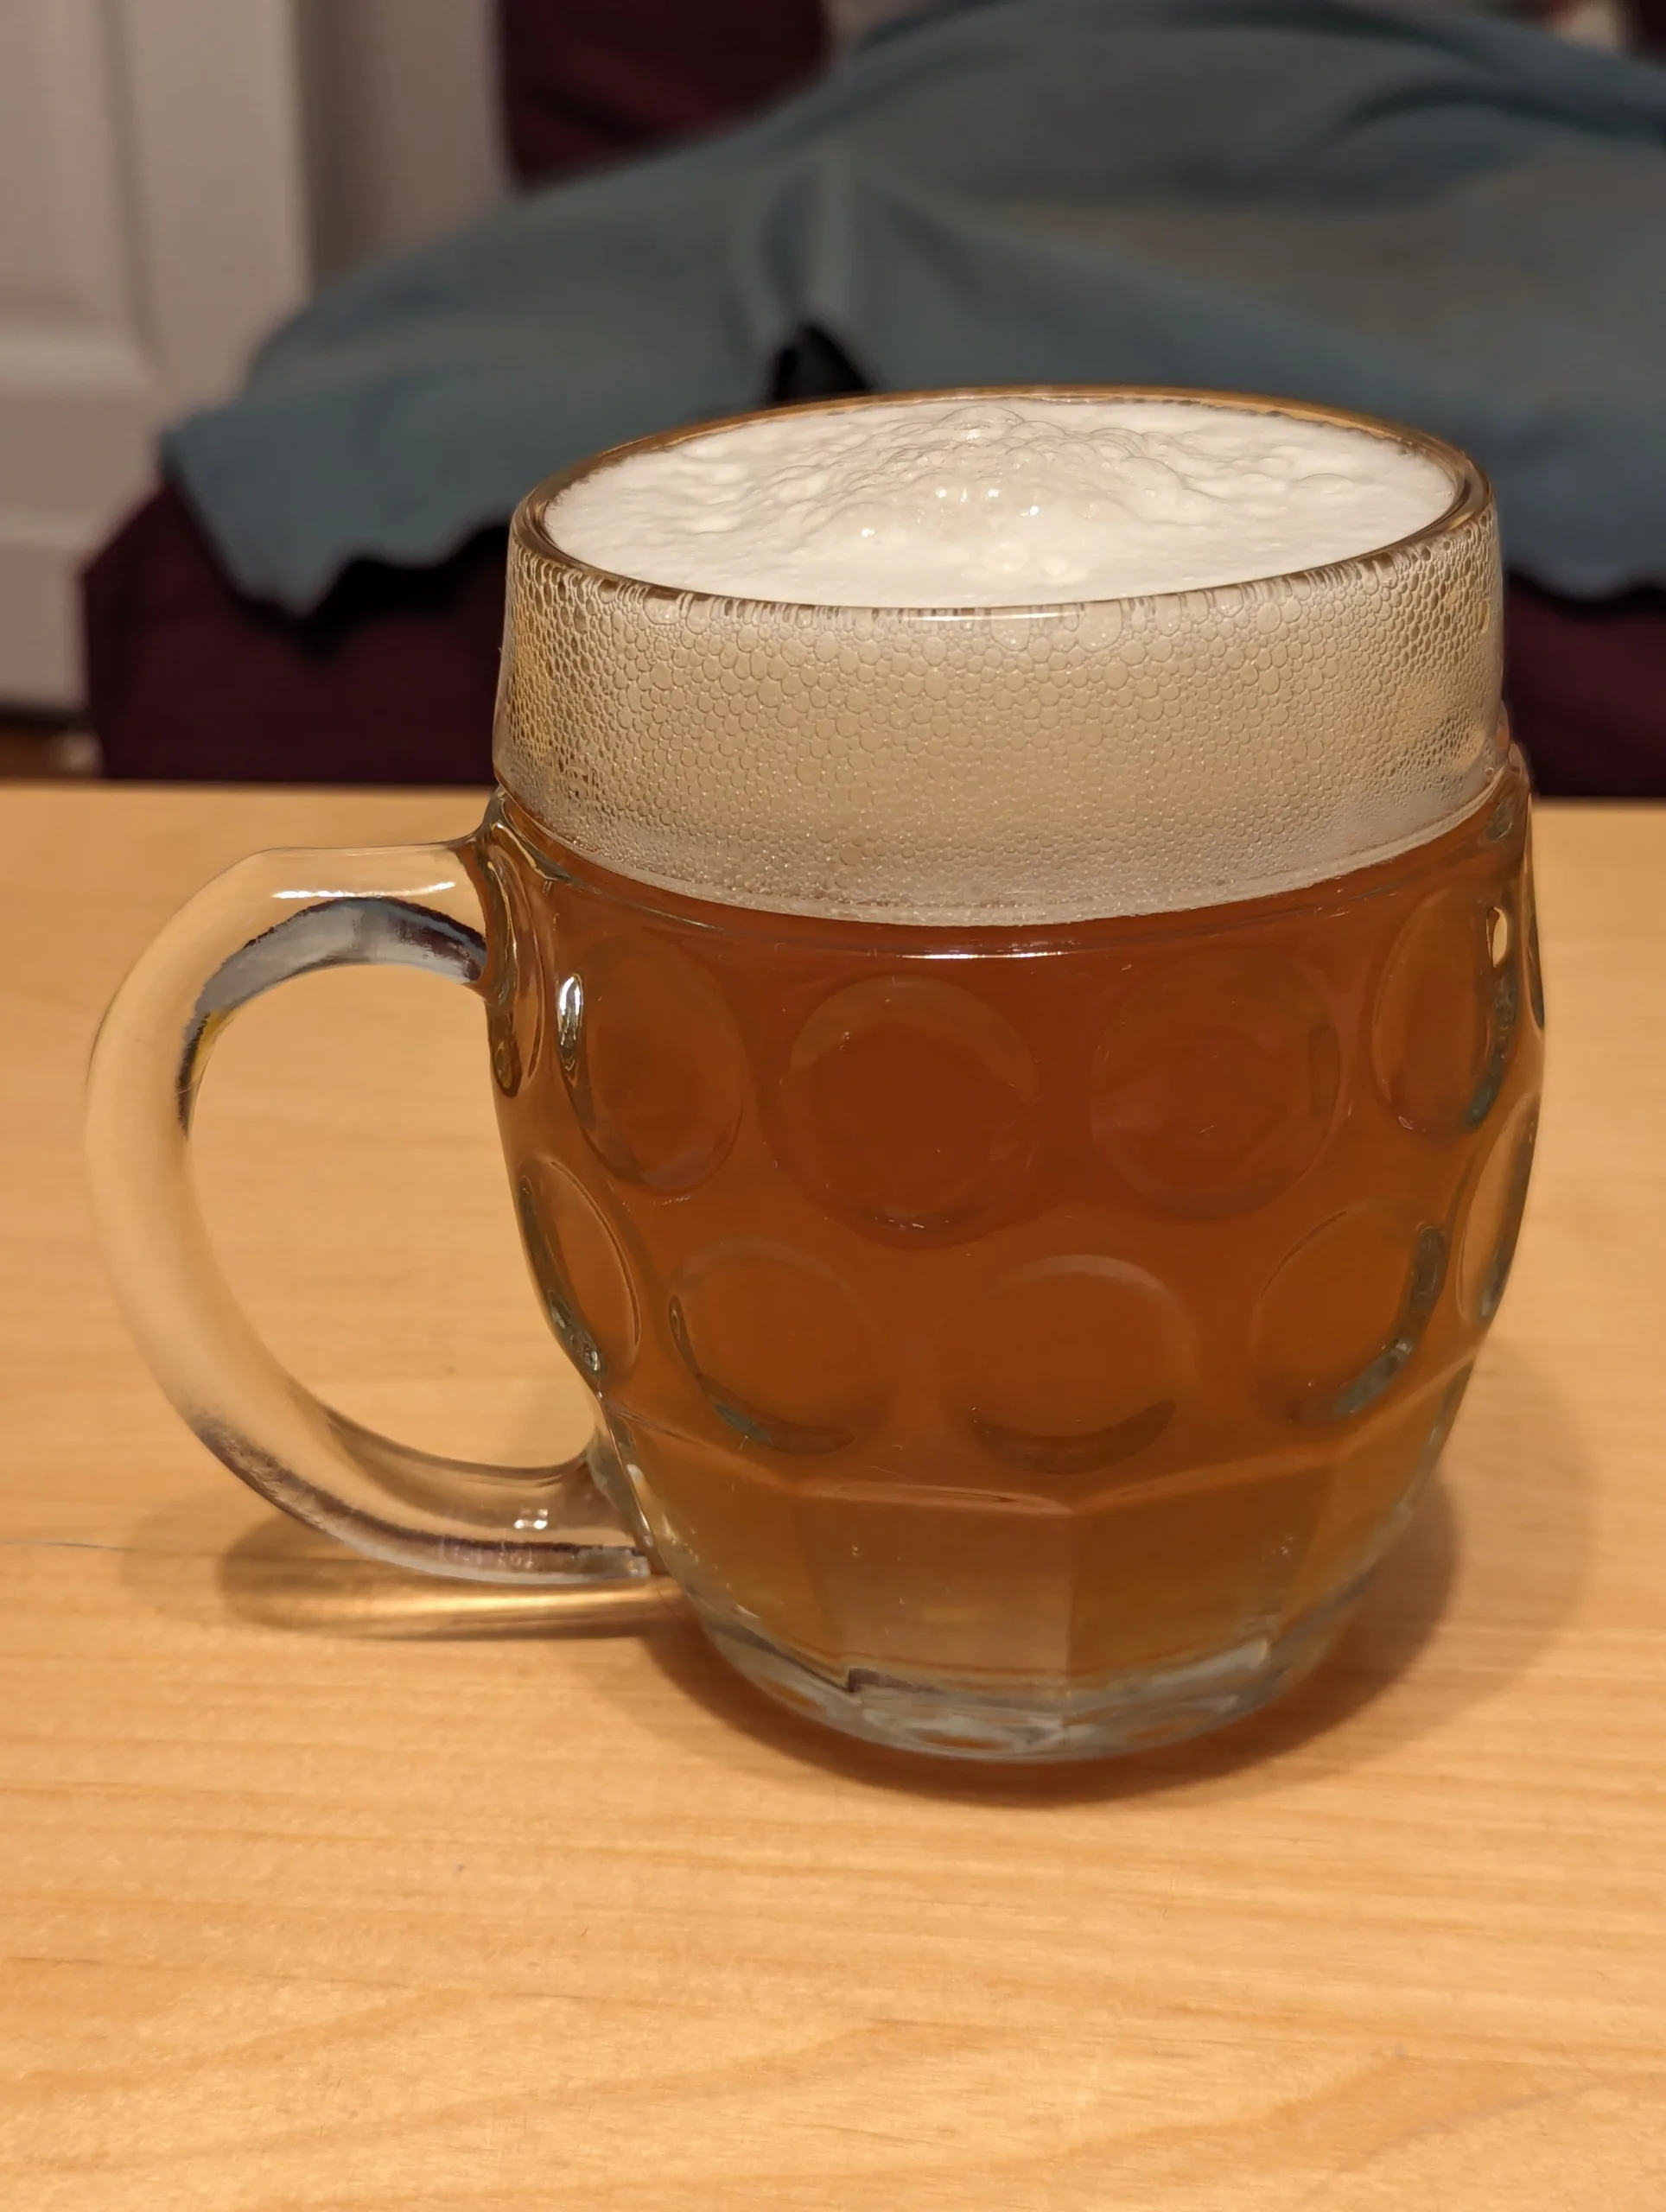
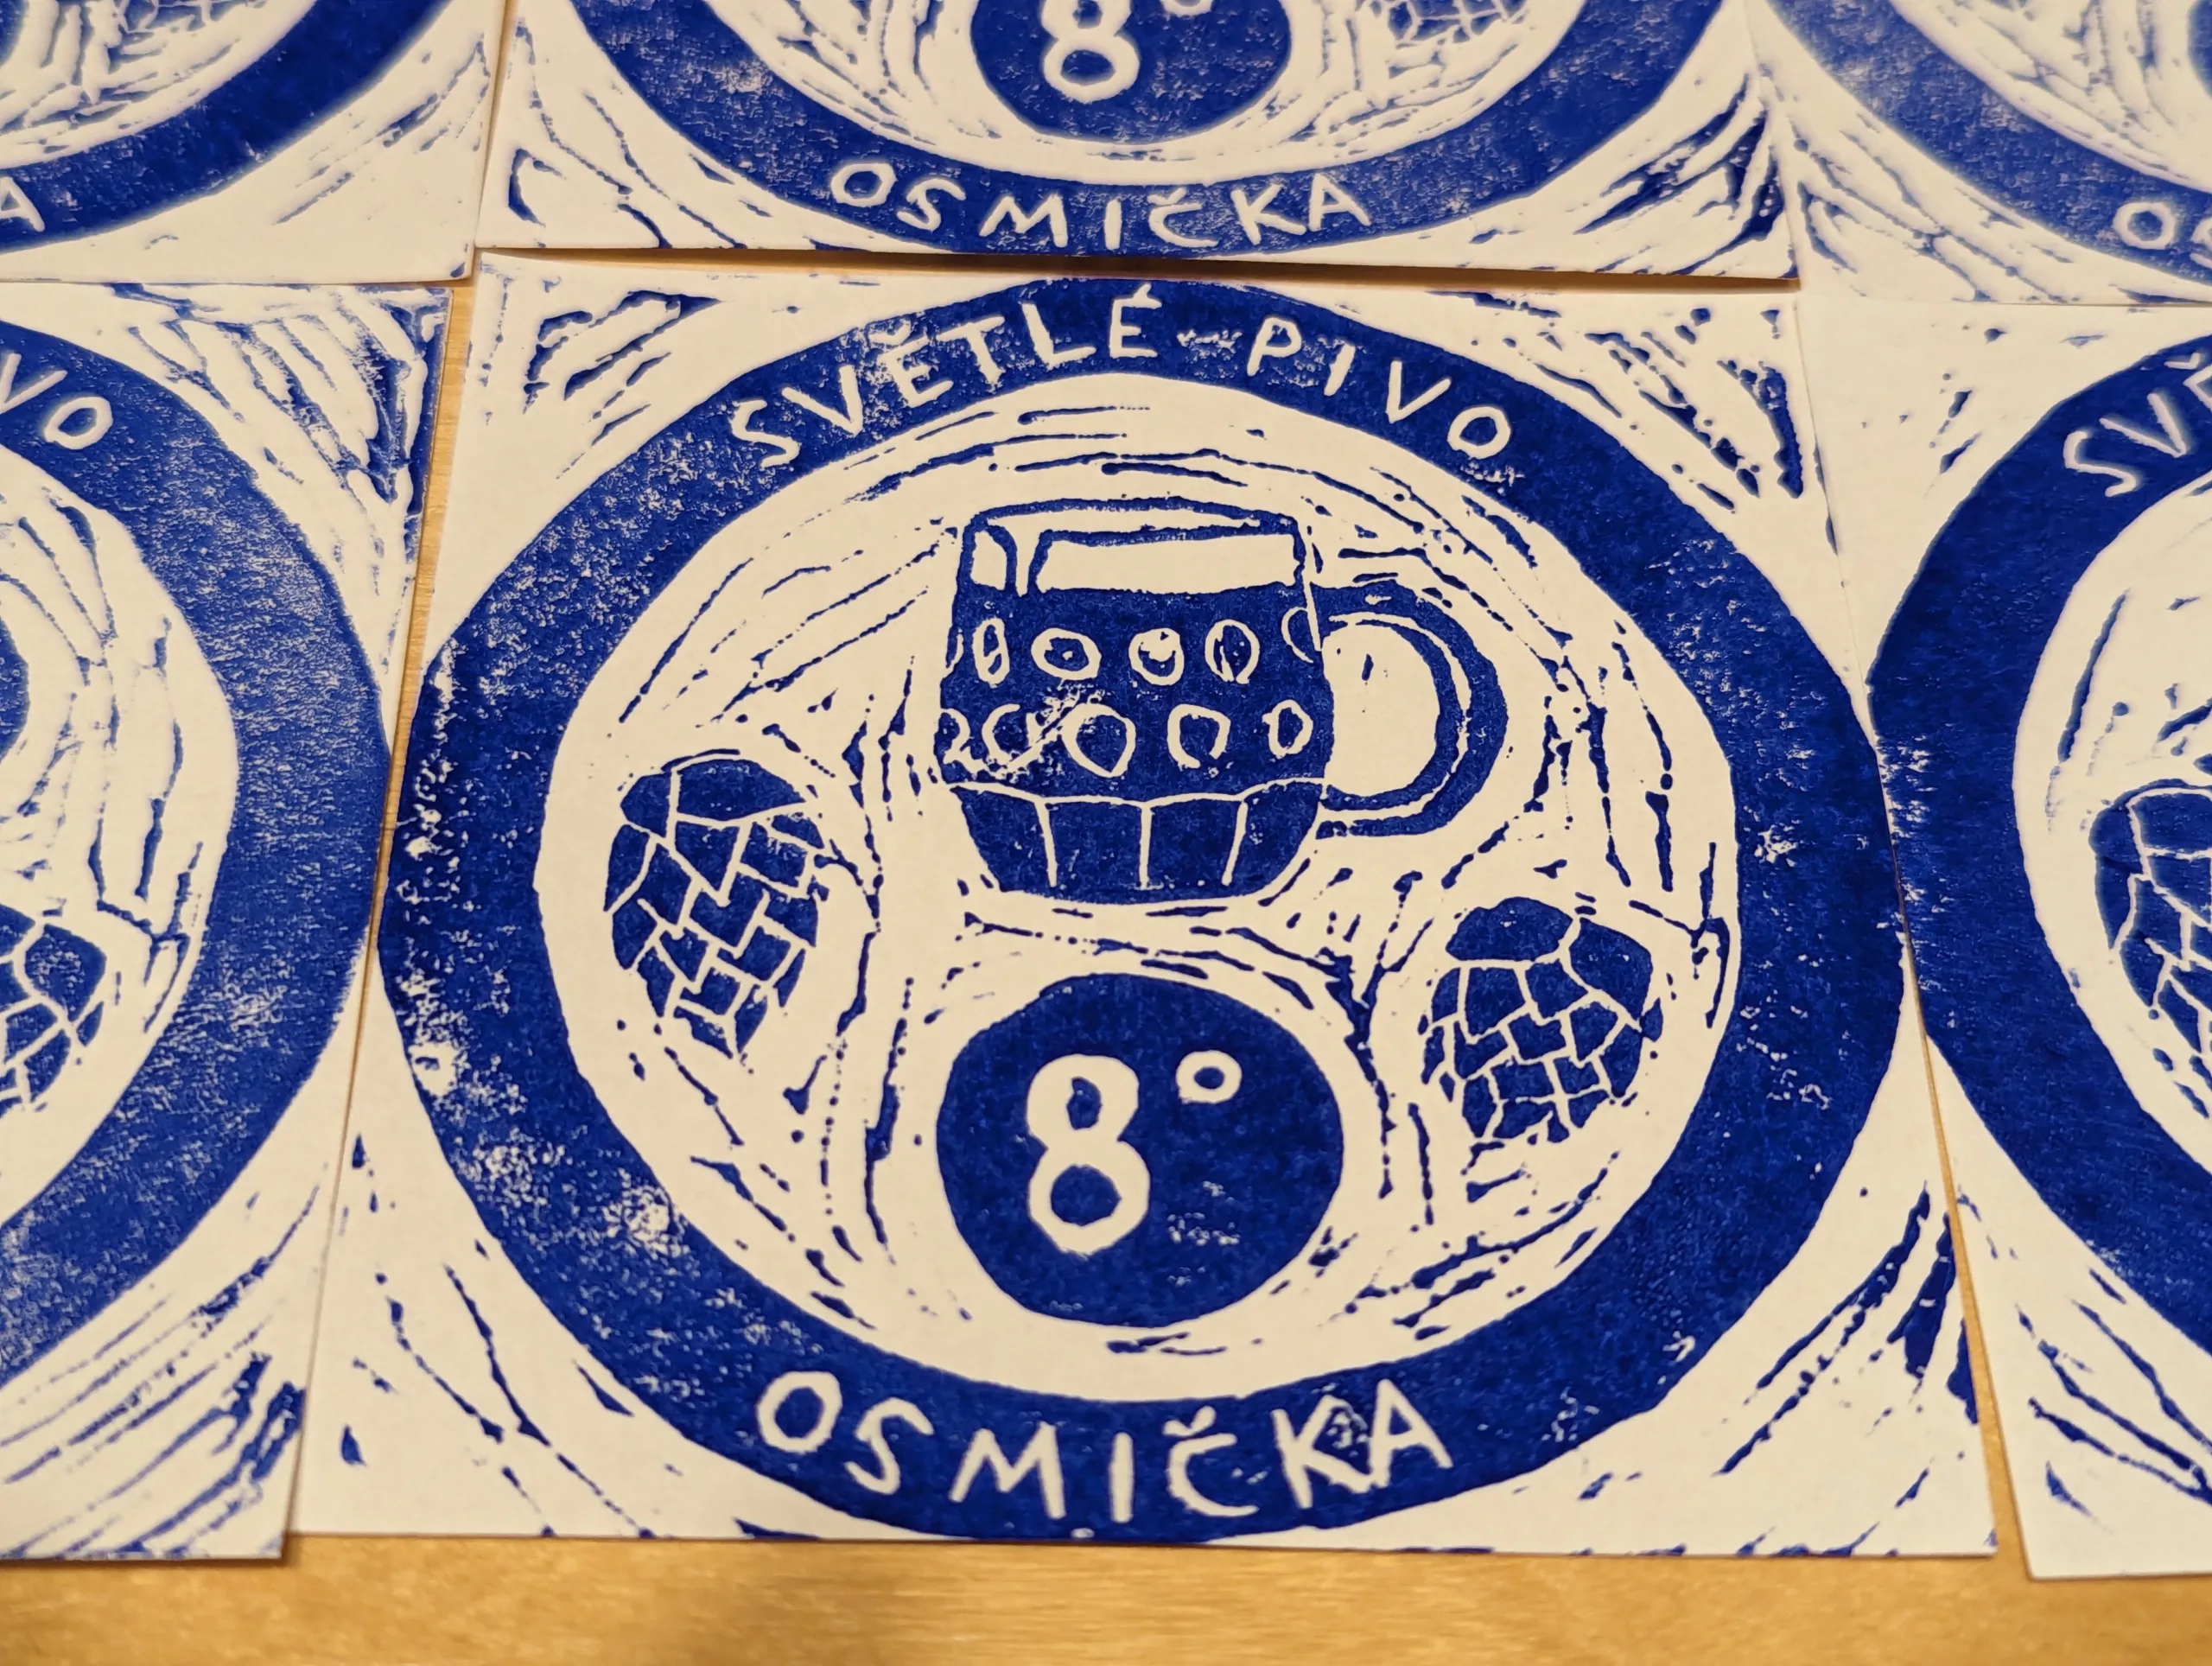
Both in 2021 and 2022, I brewed Czech Pale Lagers specifically for the summer: refreshing, with lots of character, but lower in alcohol. In Czechia, beer “styles” are most often described in two dimensions, one is the colour (pale, semi-dark, dark, black), the other one is a band of strength, but not alcohol content, but rather original gravity, i.e. the amount of sugar in the wort before fermentation. “Eight degrees” thus refers to an original gravity of 8° Plato. It’s certainly on the lower end for Czech draught beers (10° is much more common), but it’s certainly allowed, though quite rare these days.
In my first version in 2021, I tried out a grist of mostly Pilsner malt with a small amount of dark caramel malt (CaraBohemian in my case), double decoction mash of course, Czech Saaz hops for bittering, German Brewers Gold hops as a late addition, and fermented with Lallemand Diamond Lager yeast. The idea was to get a citrusy-zesty note from the Brewers Gold like I had tasted it in other beers I had previously brewed, but in practice, the beer was a bit fruitier than expected. Still, it was very drinkable and well-received even by a few professional brewers I gave samples to.
In my second version in 2022, I slightly changed things: still double decoction mash, but just 100% Bohemian Pilsner malt this time, 100% Czech Saaz hops (did somebody say SMaSH?), and Imperial L28 yeast (allegedly the Pilsner Urquell D strain). That one was absolutely amazing.
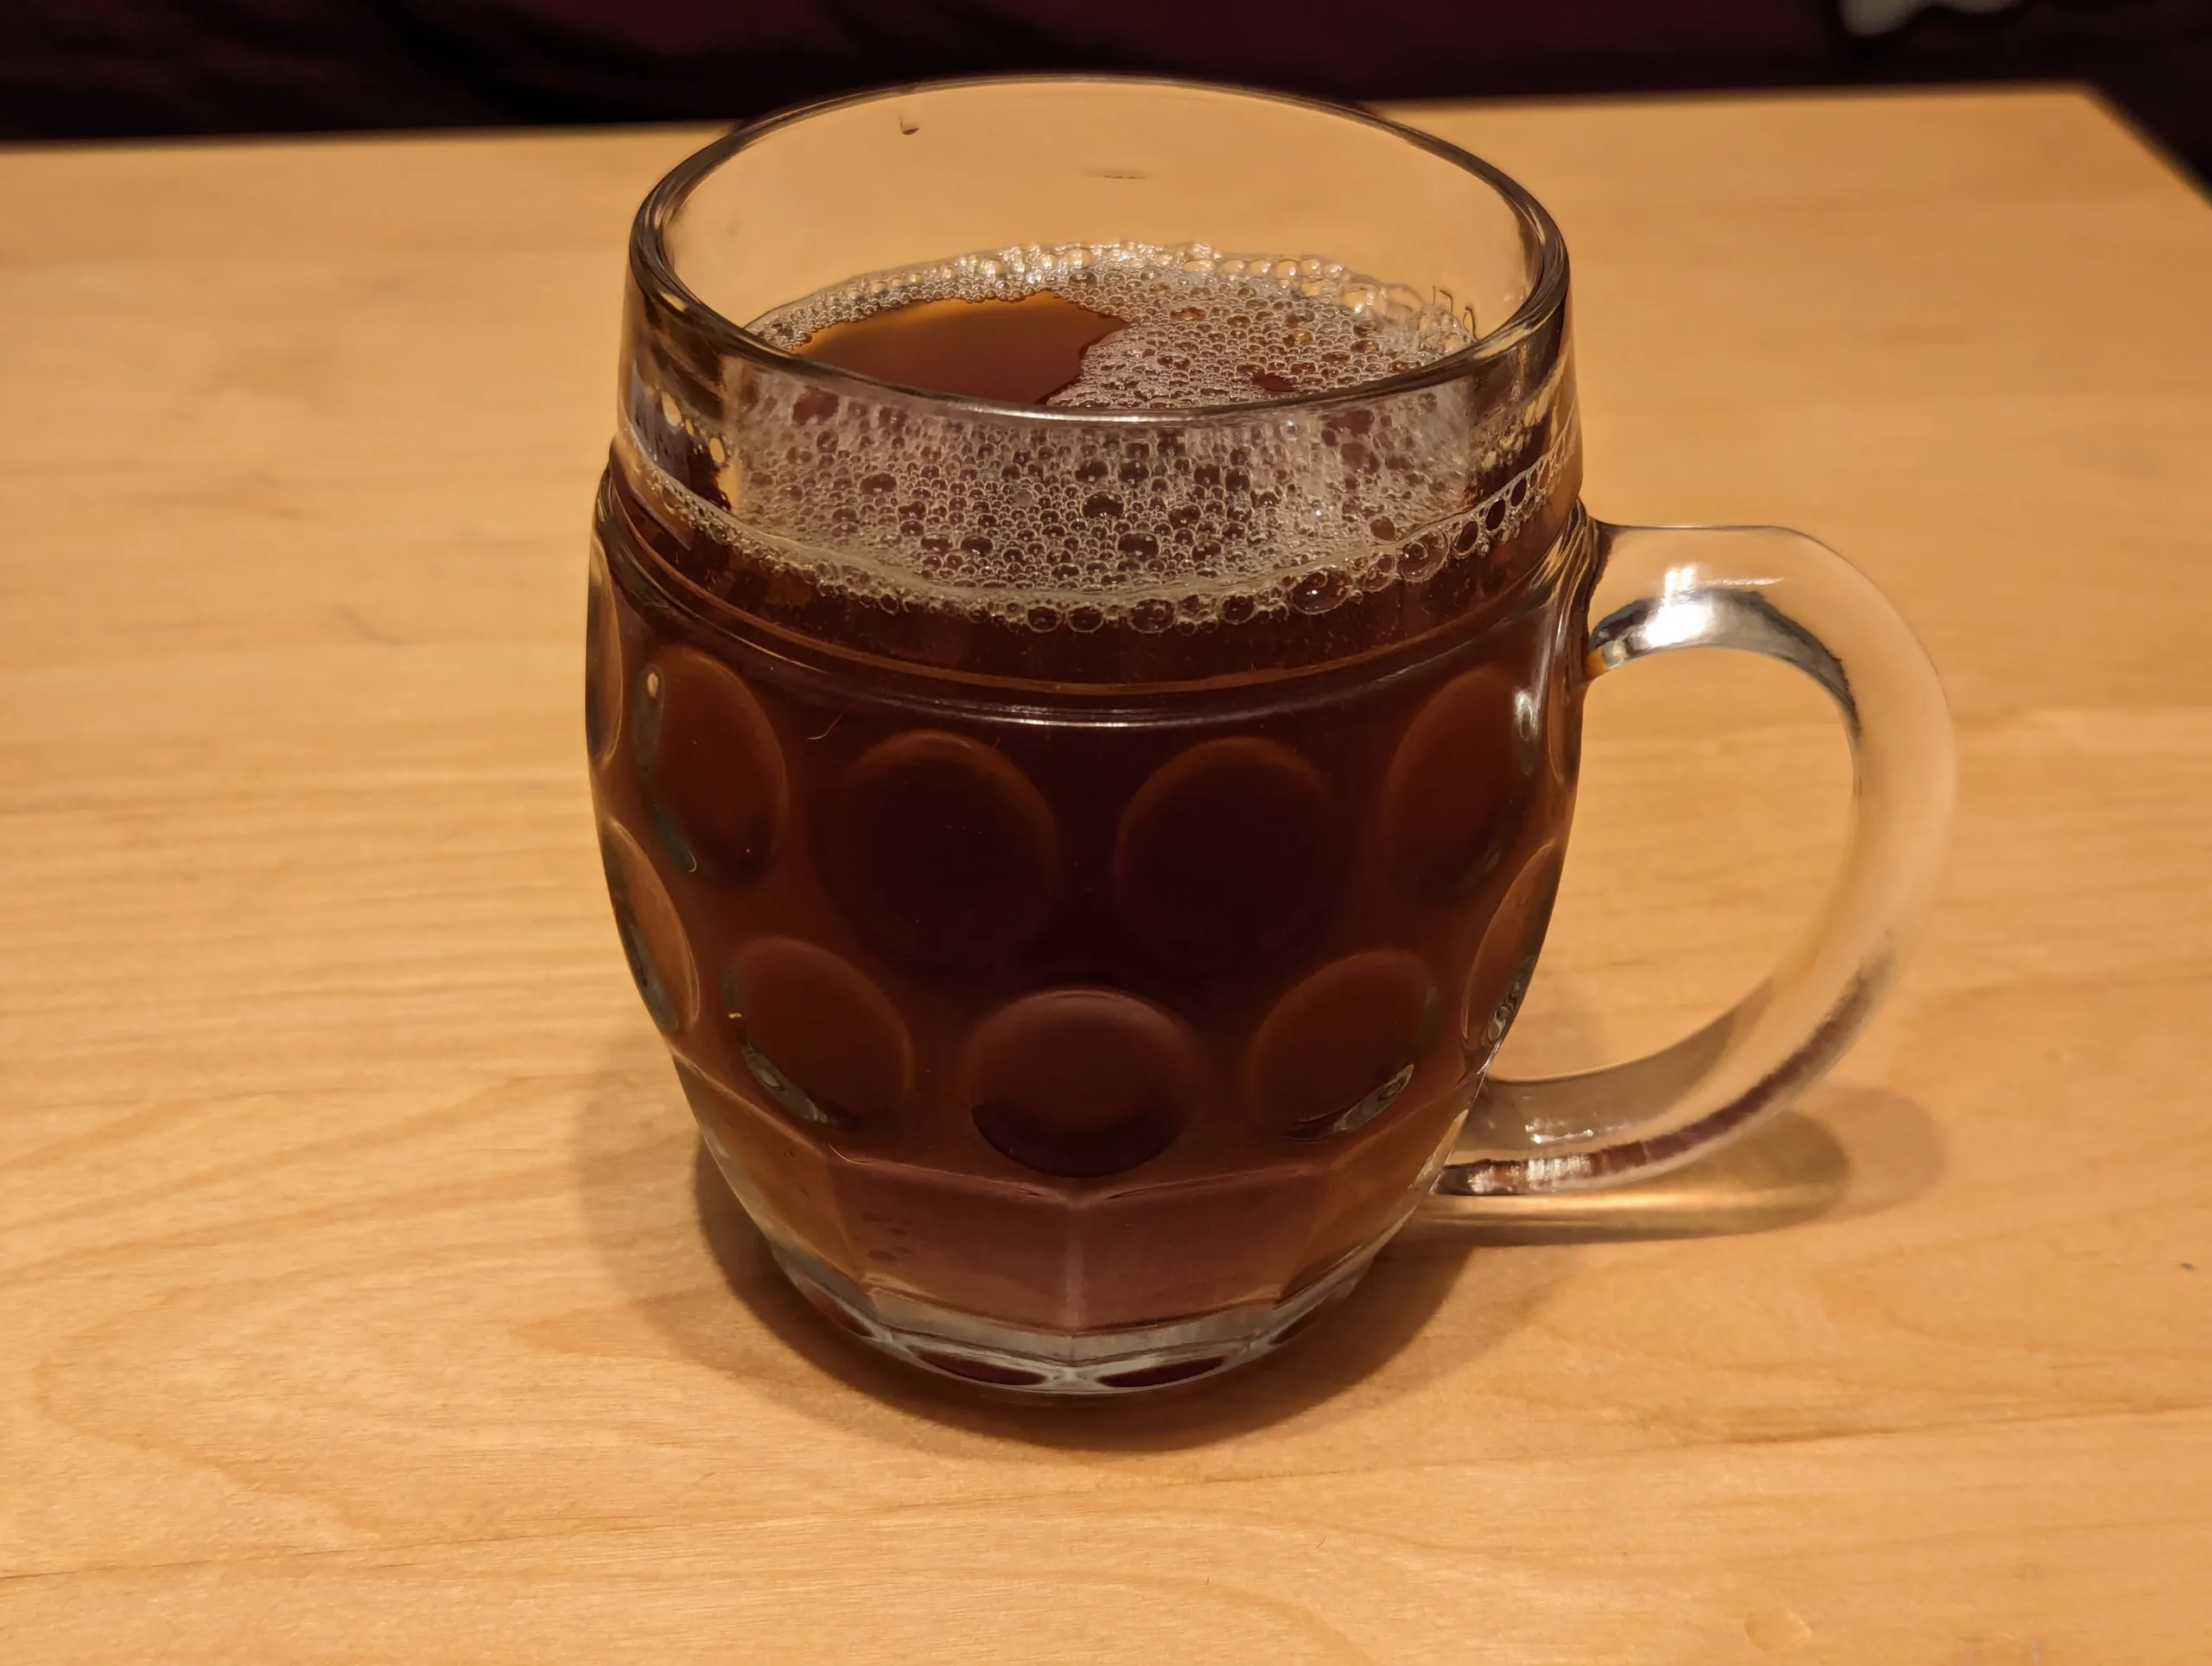
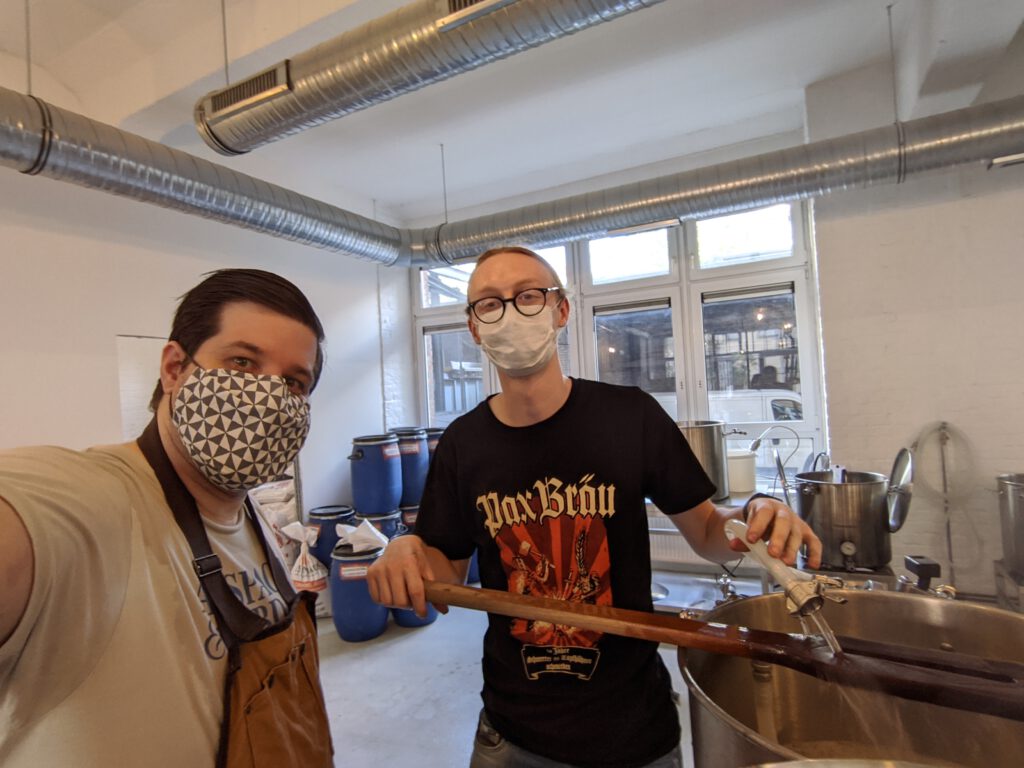
So for my third version for 2024 (I had only brewing plans for 2023), I collaborated with my friend Christian, co-founder of THE MASH PIT (which unfortunately had to close during the pandemic) to brew a slightly different version: the change this time was to the grist: instead of 100% Bohemian Pilsner malt, we instead went for 80% Pilsner and 20% Munich malt. Christian in his time as brewer had made the experience that such additions of Munich malt can add just a bit more malt complexity, while I had noticed the use of Munich malt in Vinohradský Pivovar’s Káranská 9 beer which is described as being brewed with Munich and Pilsner malt.
We still stuck to 100% Saaz as well as double decoction mashing, but changed the yeast to the more affordable option of W-34/70 (because it doesn’t make that much of a difference, anyway).
The Recipe
Now that the beer is finished and both Christian and I tasted it, I can report back that it’s also a smashing success. Here are the ingredients:
- 2.7 kg (79.4%) Bohemian Pilsner malt (Weyermann)
- 0.7 kg (20.6%) Munich II malt (Weyermann)
- 34g Saazer hops 2021 harvest (4.7% alpha acid) @ 60 min
- 30g Saazer hops 2021 harvest (4.7% alpha acid) @ 5 min
- 2 sachets of Fermentis Saflager W-34/70
Basic specs:
- OG 8.7 °P
- FG 2.5 °P
- 3.3% ABV
- Colour 7.4 EBC (calculated)
- Bitterness 22.5 IBU (calculated)
And this is how we brewed it:
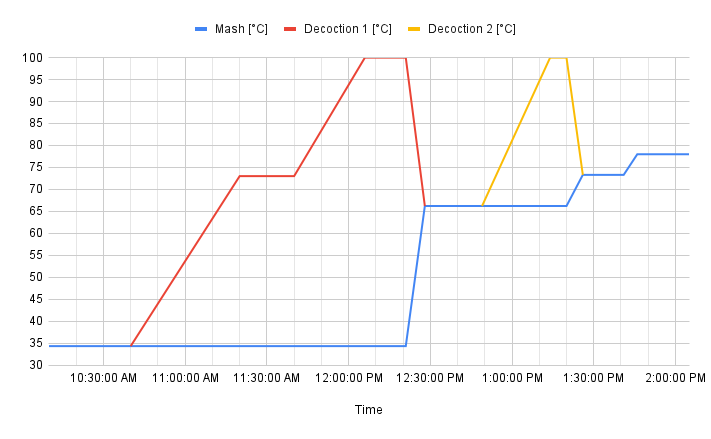
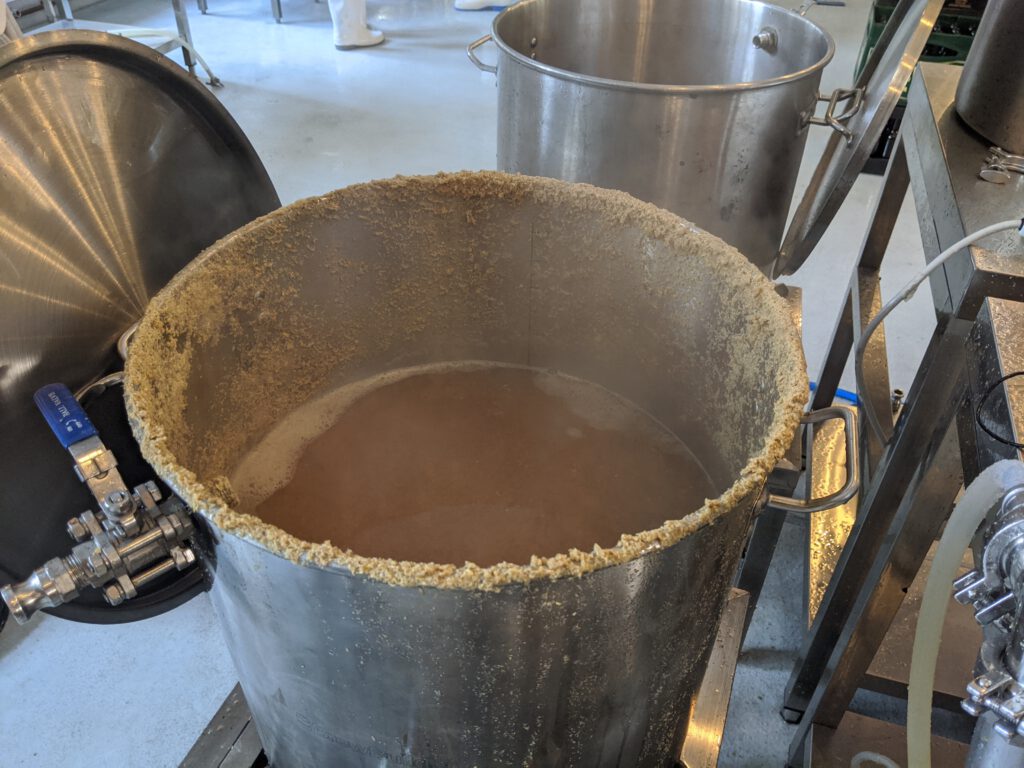
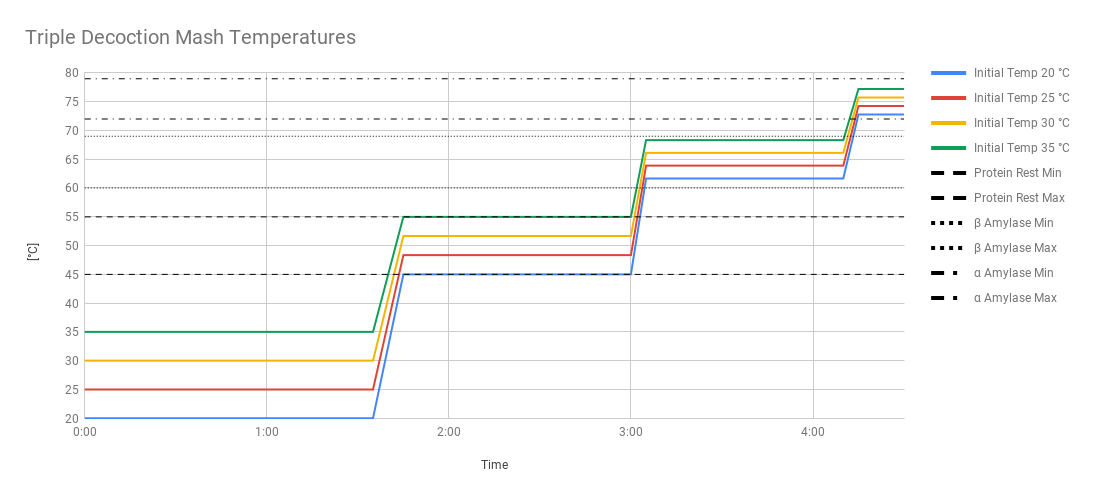
We mashed in all the malt with 20 liters of water to end up with a mash temperature of 32°C. After a brief wait, we pulled 12 liters of thick decoction, heated it up to 72°C, let it rest for 15 minutes, brought it to a boil for 5 minutes, then mixed it back. The resulting temperature of the mash was 66°C.
After 33 minutes, we pulled 8 liters of thin decoction, brought it to a boil, boiled it for 5 minutes, and mixed it back. The resulting mash temperature was 72°C.
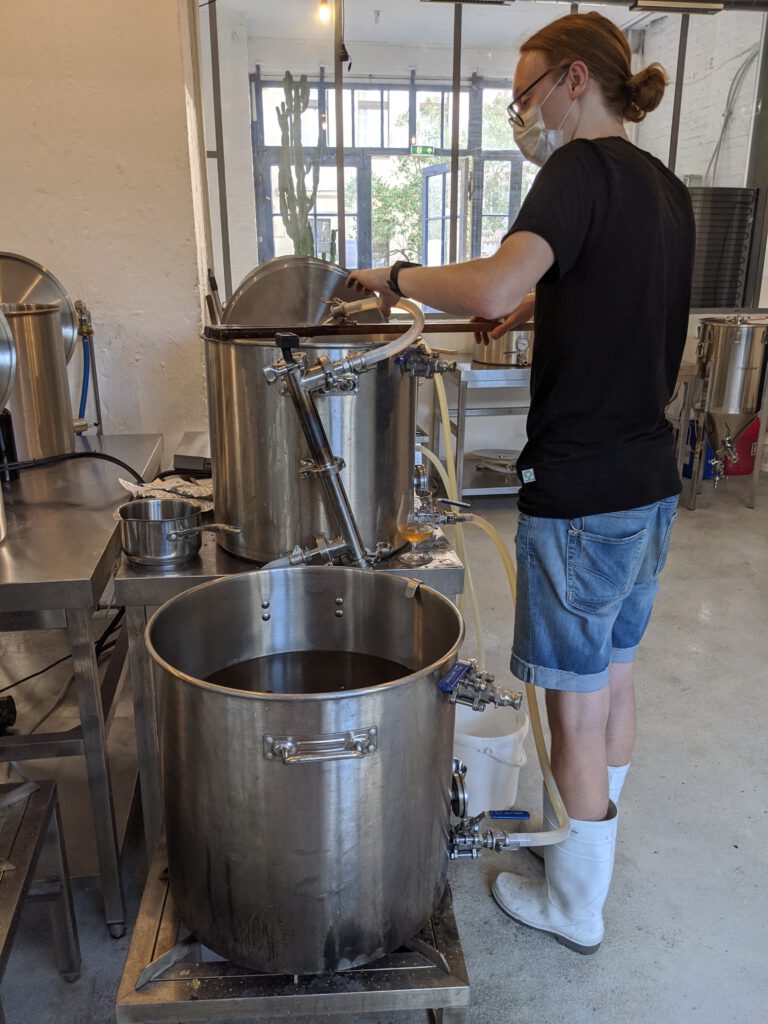
We then rested it for 10 minutes, heated it up to 78°C, and then moved the mash into the lauter tun. After lautering and sparging, we brought the wort to a boil, and boiled it for 60 minutes, with hop additions at 60 minutes and 5 minutes before the end of the boil.
We then transferred the chilled wort to a fermenter and pitched two sachets of rehydrated W-34/70 yeast at 10°C. The beer then fermented until terminal gravity and was then lagered for 3 weeks at 1°C. We bottled it with some of the wort that we had held back so that it could referment in the bottle for natural carbonation.
Looking back at the first version of a Czech-style summer beer, I noticed that I had mentioned Mahrs Sommerpils in my blog post as an inspiration that lower-ABV beers with lots of bitterness and hop aroma can actually work. I actually had a bottle of Mahrs Sommerpils just the other day, and it’s just not the same beer it was back in 2019 when I first had it directly from the source. It lacks that bitterness and hop aroma it initially had. Even if I had Mahrs Sommerpils available in my local supermarket, I would still rather drink my home-brewed summer beer, and it’s definitely something I will brew again next year.
Best Bitter
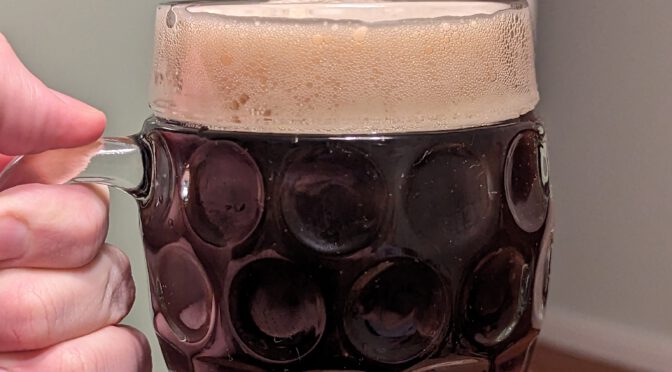
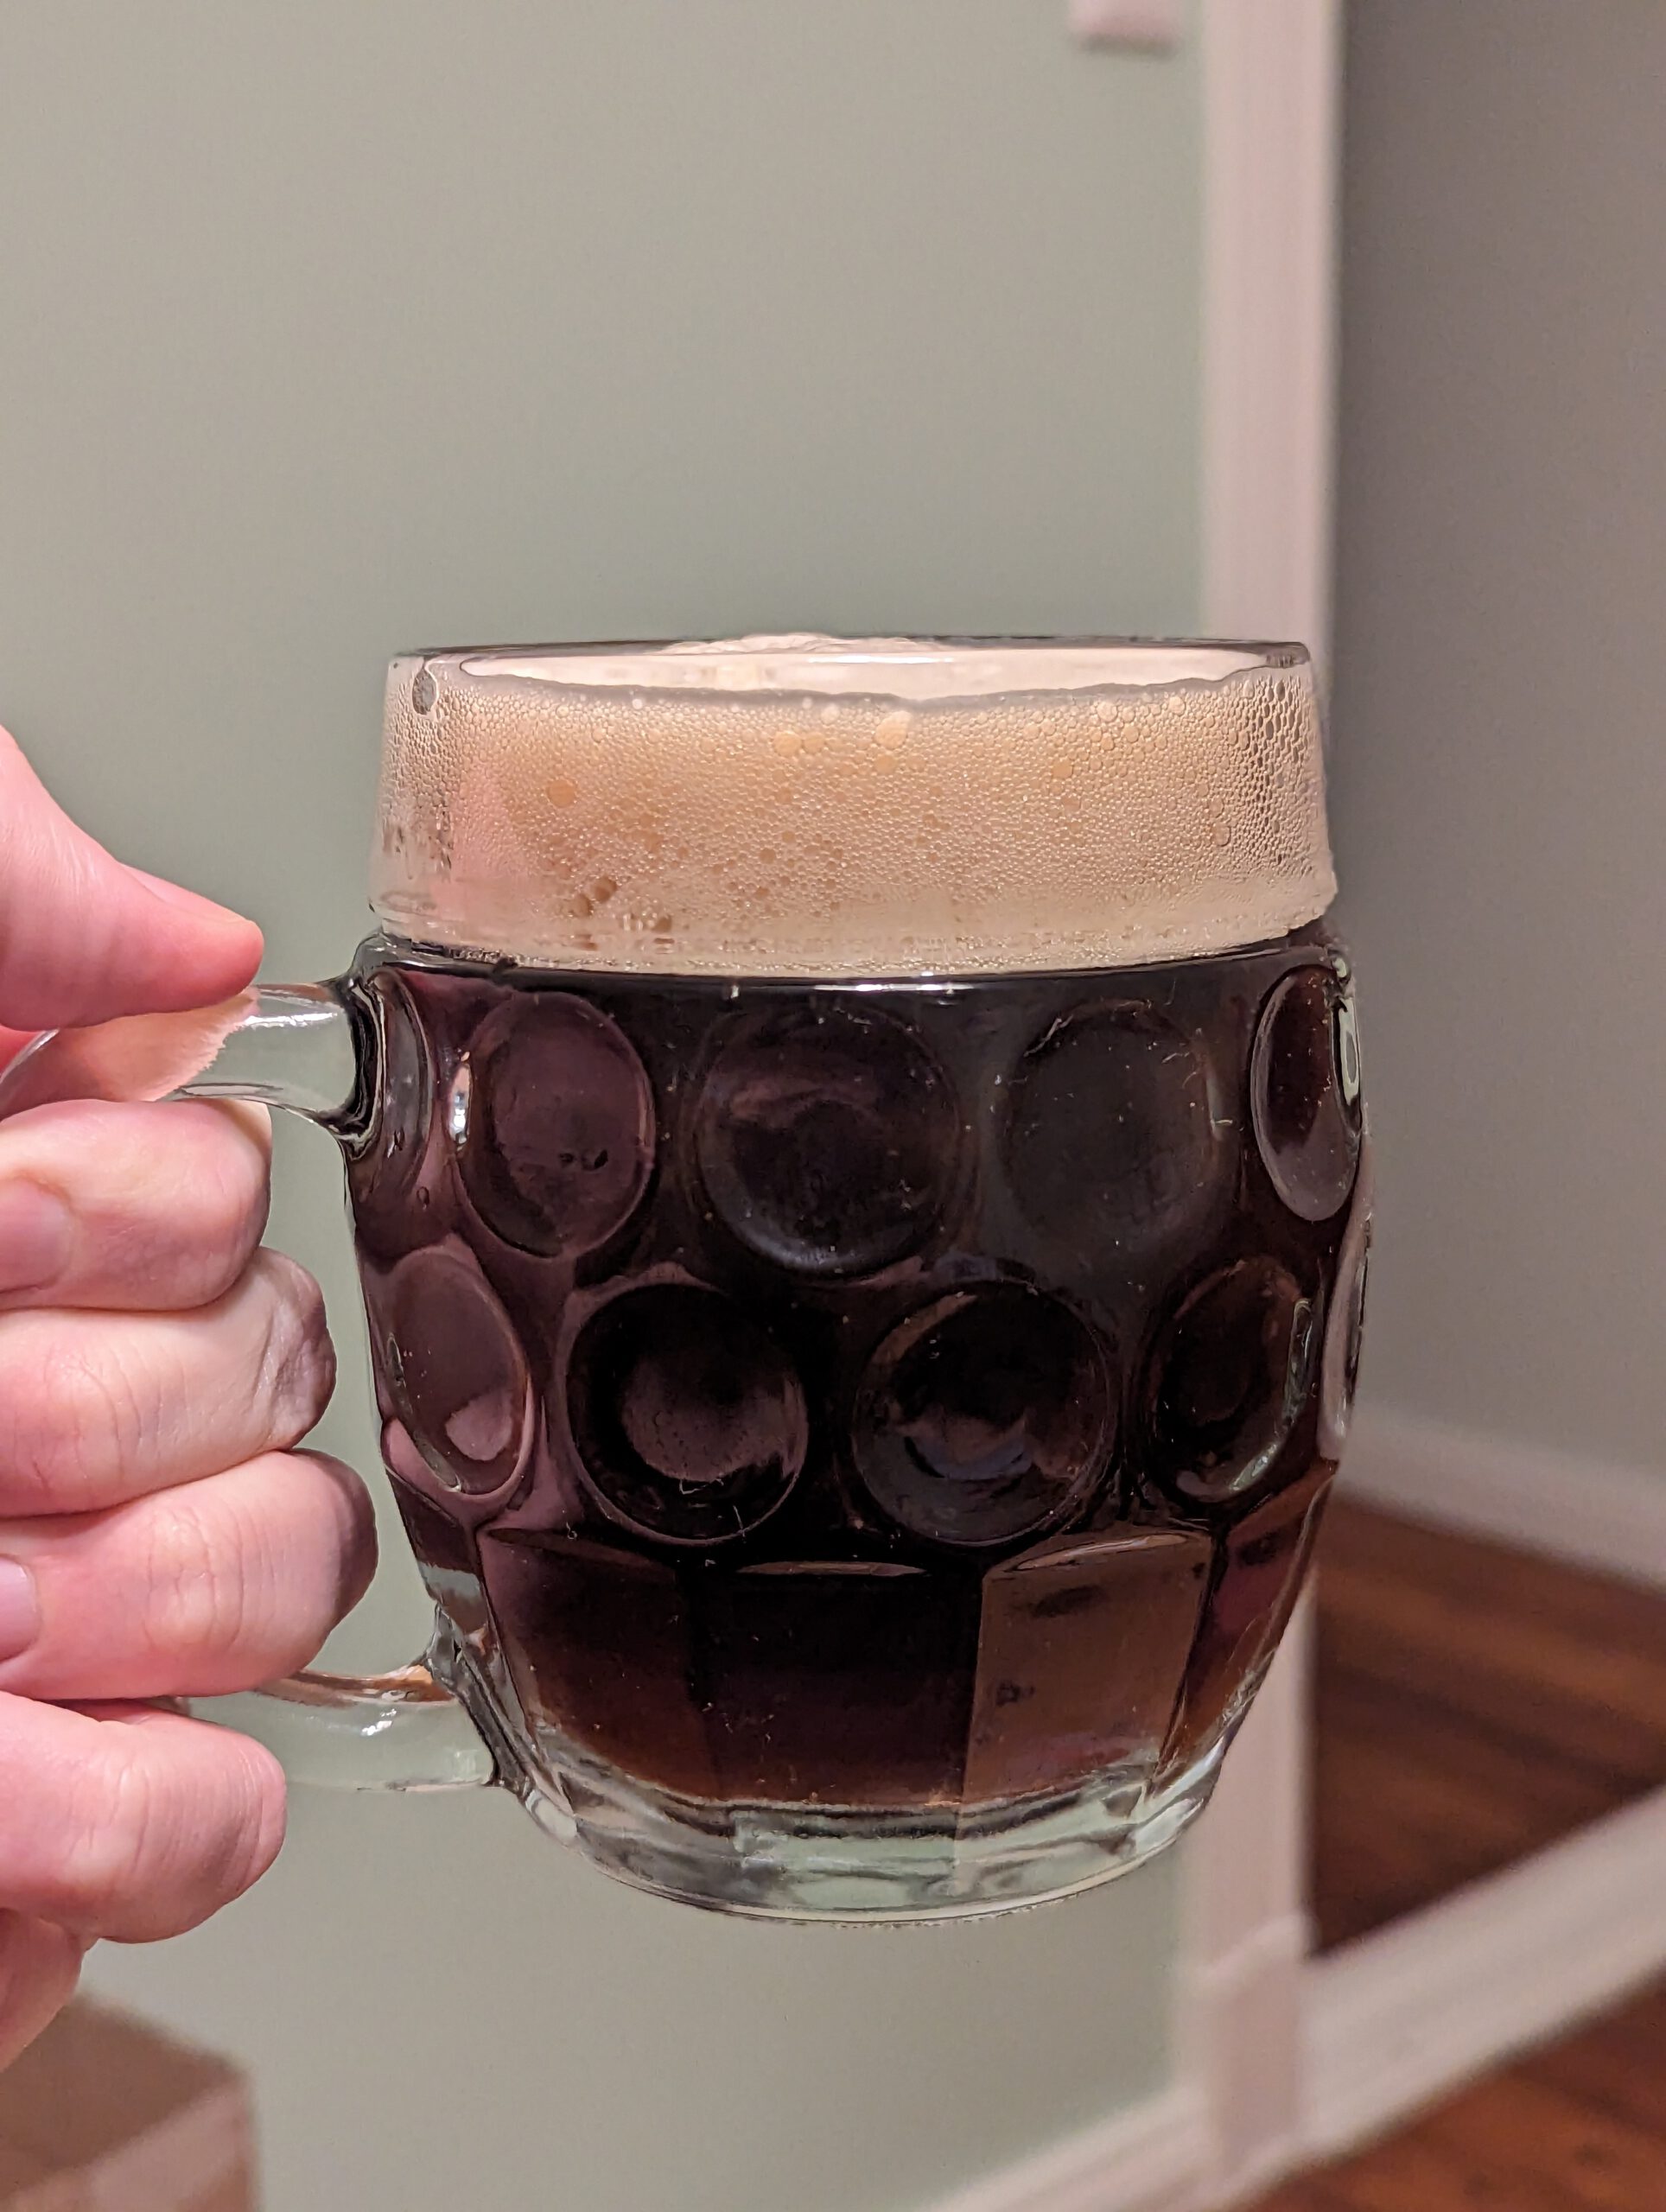
This is a beer that I brewed with another friend and former work colleague of mine, Joel. It was actually born out of failure: Joel wanted to learn how to brew beer at home, so I showed it to him, but the first recipe for a Best Bitter I had come up with was not very good: a slight touch of chocolate malt turned the beer to be too roasted and astringent, while the substandard quality of the liquid yeast caused it to perform badly during fermentation. The resulting beer was also too hazy.
So this beer was a revision of that, and I wanted to approach it as simple as possible this time: about 90% pale malt, 10% Dark Crystal malt, Irish moss to help with a clearer beer, and the popular and often-used SafAle S-04 yeast.
The Recipe
- 3.75 kg (90.4%) Pale malt (Weyermann)
- 0.4 kg (9.6%) Warminster Crystal Malt 150 EBC
- 60 g Fuggles (3.1% alpha acid) @ 60 min
- 30 g Fuggles (3.1% alpha acid) @ 10 min
- 1 tsp Irish moss @ 10 min
- 2 sachets SafAle S-04 yeast
Basic specs:
- OG 10°P
- FG 2.8°P
- 3.8% ABV
- Colour 18.6 EBC (calculated)
- Bitterness 26.3 IBU (calculated)
This time, the approach was much simpler: we mashed in all the malt with 15 liters of water to end up at a mash temperature of 67°C. We then rested it for 60 minutes. We then heated up the mash to 72°C and rested it for another 10 minutes. We then lautered and sparged it, followed by boiling the wort for 60 minutes, with hop additions 60 minutes and 10 minutes before the end of the boil. We then chilled down the wort to 20°C, pitched two sachets of S-04 yeast, let it ferment, and then bottled it with wort we had held back so that the beer could referment in the bottle for natural carbonation.
In the end, I was actually quite surprised about the resulting beer: it does taste remarkably close to a proper cask bitter (though it may be slightly undercarbonated), it has the right expression of fruity esters that makes bitters so unique, and it has absolutely the right malt character. I very firmly believe that British bitters, whether it’s ordinary, best or extra special bitter, stand and fall with using the right ingredients, and crystal malt from a British maltings is quite crucial for that, I think a lot more important than what people think it is. And I think it’s where most non-British brewers fail, even if they get the hops, the yeast and the water treatment right.
And while a Best Bitter may not be the most typical summer beer, I think what still makes it very good for this time of the year is the relatively low amount of alcohol of just 3.8% ABV.